Spoon carving is a great way to get into wood carving and is a perfect way to make your own spoons or give them away as gifts! To get into spoon carving, you don’t need more than a regular carving knife and a hook knife to make a beautiful work of art!
Carving a simple spoon can be done in as little as 30 minutes, but if you want to carve a spoon with lots of intricate details it could take you several days to a week to complete.
Knowing what wood and tools to start carving with is important to know and will help any beginner pick the right materials for a more enjoyable experience. Lets go over some of these items below.
Best Wood for Spoon Carving
Choosing the right wood to carve into a spoon can make or break a first time experience for beginners. If they pick a wood that is too hard, it may take much longer for them to carve and dull out their tools quickly.
Picking a nice and easy wood to carve for your first spoon will allow you to get the feel for the craft and prevent you from getting frustrated. Then you can start moving on to harder woods for a more durable spoon with different colorations.
Butternut and Basswood
The easiest woods for any first time spoon carver to use is either butternut or basswood. These woods are soft enough so you can carve a basic spoon in less than an hour and hard enough to hold fine details if you wanted to add them.
They can be easily picked up as pre cut out spoon blanks on Etsy and Amazon for a great price, linked below:
Basswood Spoon Blanks on Amazon: https://amzn.to/3ElKLKp
Butternut Spoon Blanks on Etsy: https://tidd.ly/3c9rTkm
Walnut and Cherry
A few of my other favorite harder woods to carve are Walnut for darker colored spoons and Cherry for a nice natural wood color. Both of these woods are much harder to carve but result in a more durable spoon.
The best place I found to buy walnut and cherry spoon cutouts is from ButternutSpoonCarver on Etsy, linked below:
https://tidd.ly/3c9rTkm
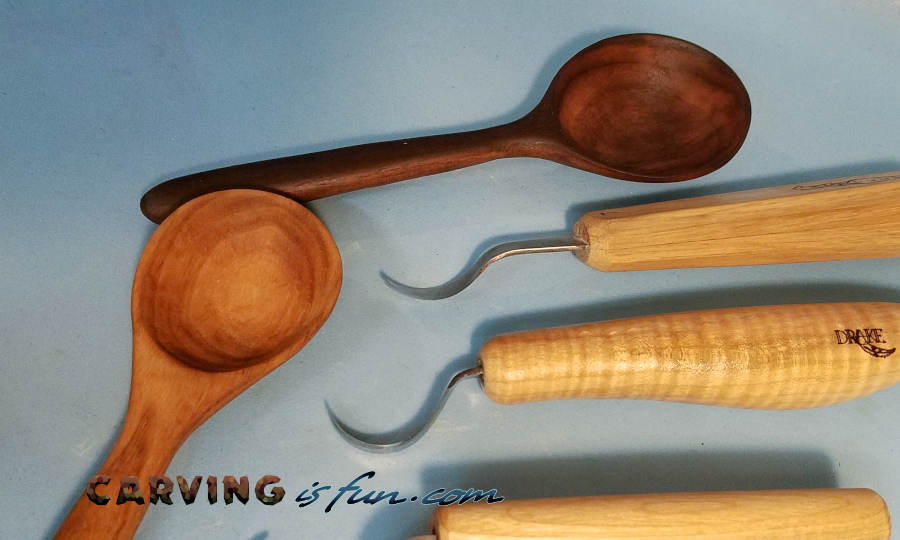
Best Tools For Spoon Carving:
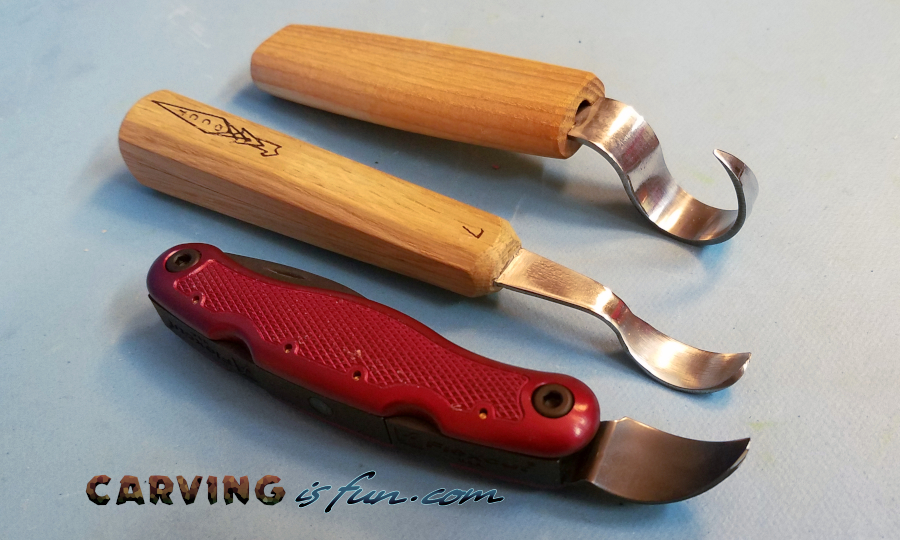
Picking a quality spoon carving knife that is suited for your needs is important so that you both find a quality knife that comes sharp and ready to use and has all the features you are looking for at the right price!
Here are some of my favorite spoon carving and hook knives that are currently on the market.
Best Beginner Spoon Carving Kit
If you are completely new to wood carving in general and want to pick up a complete spoon carving kit without spending a lot of money, then the BeaverCraft Spoon Carving Kit is perfect for you! You get everything you will need to get started and the tools come sharp and ready to use.
The Beavercraft S13 Spoon Carving Kit comes with a hook knife to scoop out the spoon with, a sloyd knife to remove large sections of wood, and a detail knife to add small intricate cuts and designs. Plus it comes with a leather strop, honing compound and a storage bag all for a great price!
You can pick up yours on Amazon by clicking here: https://amzn.to/3uMs9jI
How to Carve a Spoon Out of Wood
Supplies Needed for Spoon Carving
What you will need to carve a wooden spoon:
- Spoon blank of preferred wood
- Your preferred rouging knife (sharpened)
- Your preferred hook knife (sharpened)
- Protective gloves and/or finger guards
Step 1 – Wood Roughout
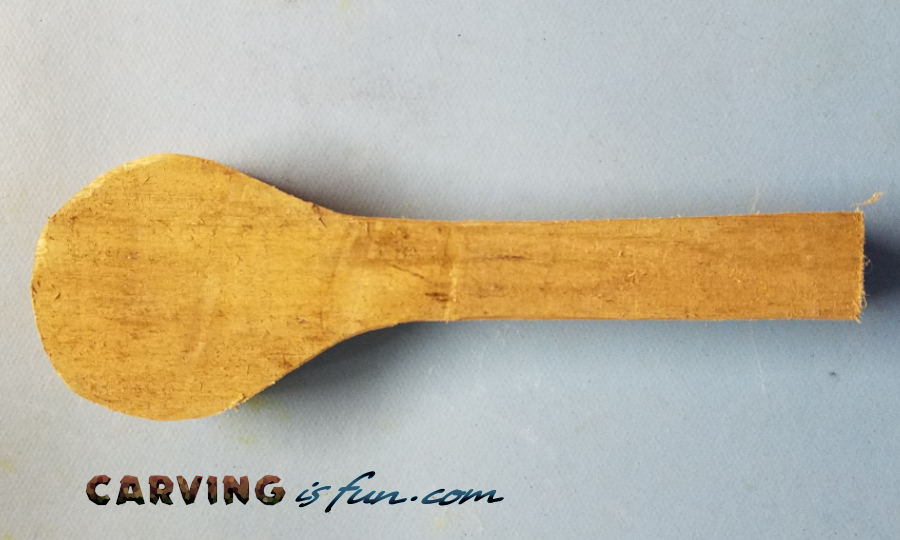
To start off your spoon carving, you will want to create the rough shape of your spoon out of wood. You can either cut it from a block of wood or purchase a pre cut blank.
Step 2 – Shape the Handle and Back of Spoon
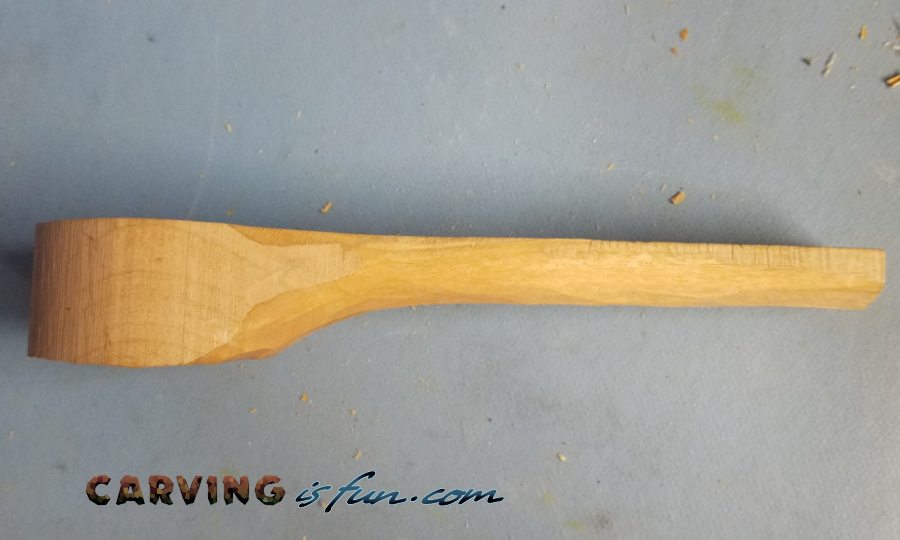
Next we are going to start shaping the back of the spoon and slim the handle.
Step 3 – Round the Bottom of the Spoon
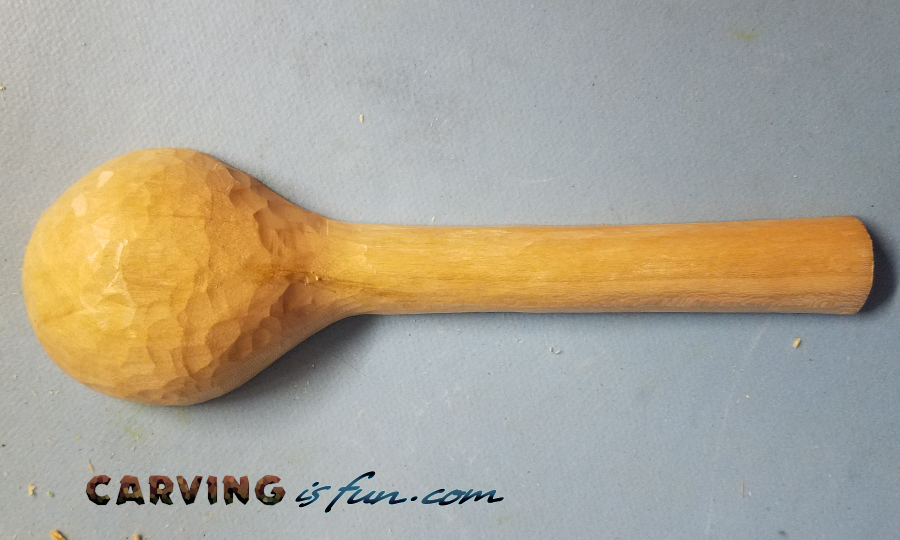
Once we have the handle shaped and the back of the spoon rounded, continue rounding out the bottom of the spoon as shown above.
Step 4 – Scoop Out the Inside of the Spoon
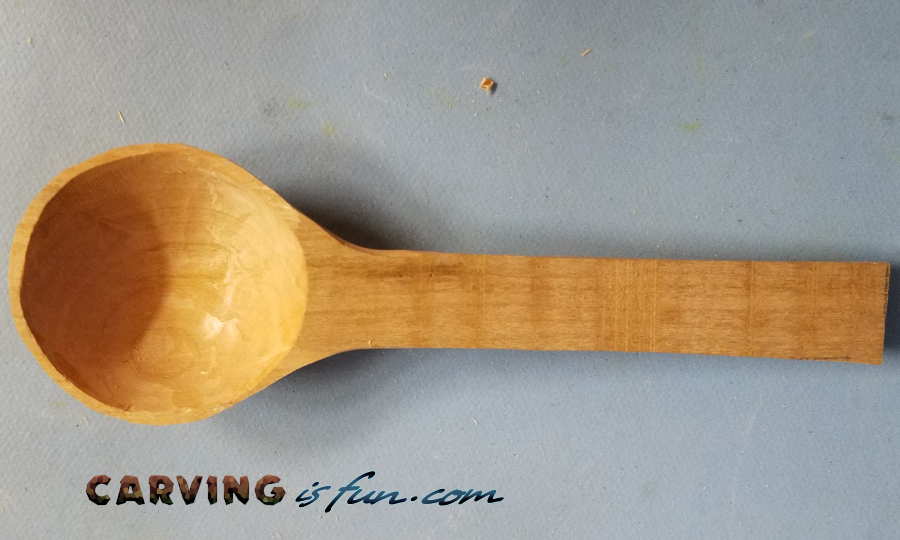
Then, we care going to use our hook knife and carve out the inside of our spoon. Take care not to go too deep or you may go all the way through the bottom.
Step 5 – Shape the Handle
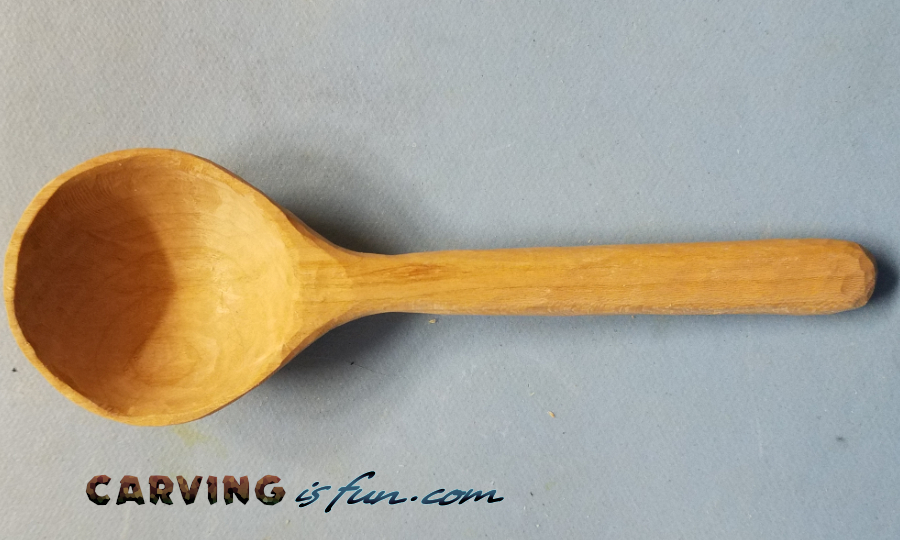
After the spoon has been hollowed out, finish shaping the handle and adding any details you may want.
Step 6 – Sand and Finish Your Spoon
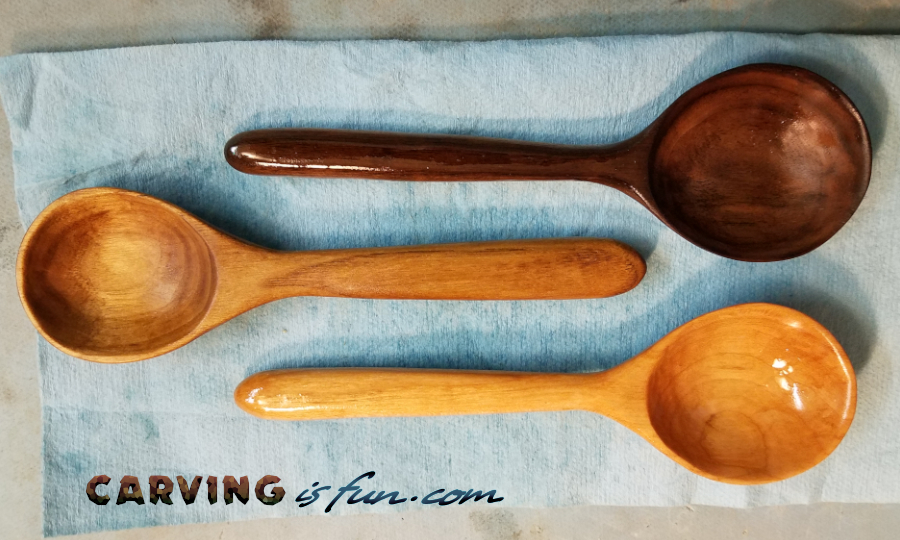
Once you are done carving, sand with 220 grit sand paper to smooth out the cuts and coat with mineral oil to seal the wood. Allow the oil to sit for at least an hour to soak into the wood.
Step 7 – Enjoy Using Your Spoon
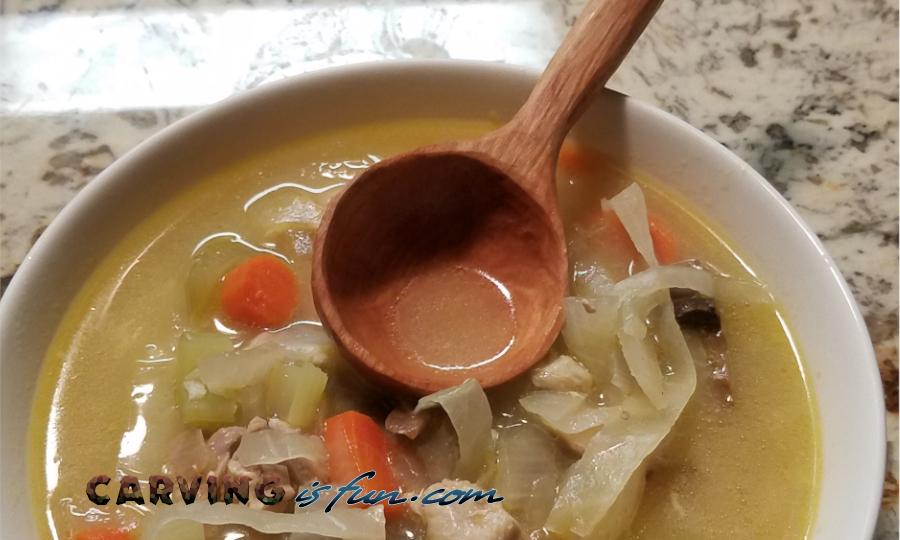
After you have wiped away the excess mineral oil, wash and start enjoying your new spoon! Reapply mineral oil ever 6-10 times you wash them to make sure the spoon is both properly hydrated and protected.