Sometimes you are going to run across a particularly hard piece of wood to carve and knowing how to make the wood softer and easier to carve can allow you to safely continue carving.
The best ways to soften wood for carving is to hydrate the wood by either using an alcohol and water mixture or various oils already used for finishing woods. You can also soften the wood by soaking it in water or even by using freshly cut wood from the beginning.
Lets go over how each method works and other great options that you can do as well.
Alcohol Spray
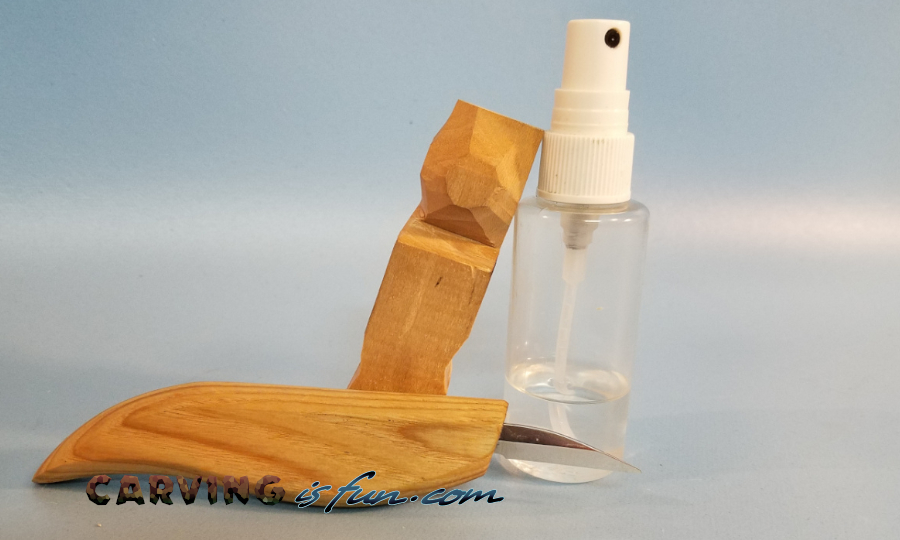
The easiest and most common method that many carvers use to soften wood for carving is by using an alcohol and water spray. You can just keep the spray bottle next to your carving station and spray on the sections you need softened.
All you will need is a small spray bottle, rubbing alcohol, and water. You can simply use the 50% isopropyl alcohol mixture straight from the bottle like this one on Amazon or you can use the 70% or 99% versions and do a 50-50 mixture with water.
The reason why this works is because the rubbing alcohol reduces the surface tension of the water and allows the liquid to easily absorb into the wood.
If you just used water, it would sit on the surface of the wood and eventually evaporate. If you just used pure alcohol, it would evaporate and never absorb into the wood.
Soaking in Water
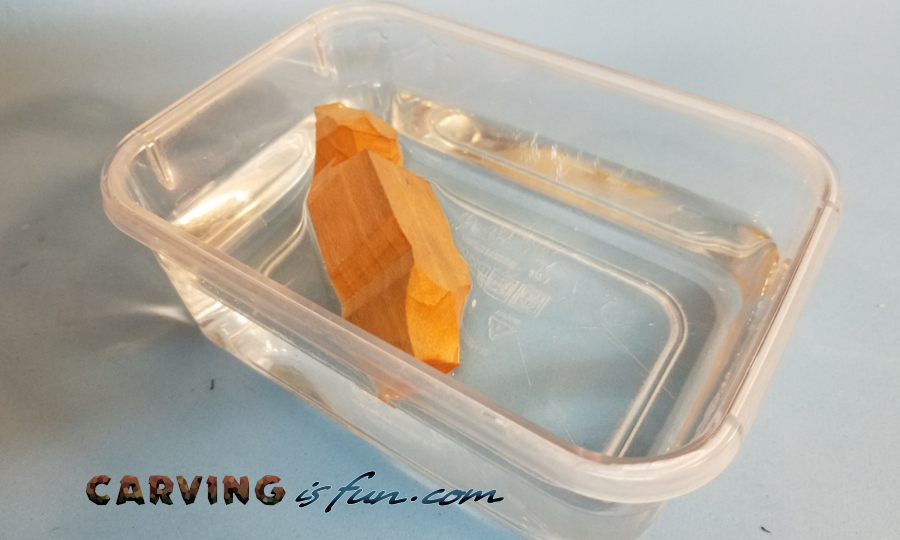
A super simple option that anyone can do is soaking the wood in water! While this takes longer for the wood to absorb the water than the water and alcohol version, it is a great way for an even distribution of moisture all over the wood.
To do this, all you will need is a container big enough to hold the wood and fill the container with enough water to completely submerge the wood. For best and more even results, apply a weight on the top and keep the wood completely submerged.
Check on the wood every 30 minutes and make sure the wood isn’t becoming too waterlogged and spongy. The wood should still be firm but moist. If you let it soak for too long, it will become waterlogged and may cause the wood to split when it dries.
After you are done carving, it will be best to wipe down your carving tools and apply a light oil coating to prevent any rusting that may occur if too much moisture is left on the tools.
Boiling in Water
An even faster way to hydrate the wood when compared to just simply soaking it is by boiling the wood in water. This method does have some major drawbacks, which we will go over below.
To do this, just simply bring water to boil with the wood already in it the water. It would be dangerous to add wood to the water while it is boiling as it could splash or overflow the pot.
Some downsides to this method, besides the obvious part of dealing with hot water, is that it is hard to test to see if the wood is properly soaked as you will be dealing with hot wood and that it could change the color of the wood.
This method is a decent option, but I would personally use any of the other steps in this list before boiling the wood.
Store in a Humid Environment
Proper wood storage can heavily effect how the wood will carve in the future. If the storage space is too dry, it runs the risk of making the wood even harder to carve!
Different regions of the world will have different options available to them but here are some great places to store your wood.
If you live in a humid or tropical environment, you could store the wood in a shed or your garage. Some people even store them under a tarp in their back yard. Otherwise, you could invest in a humidifier and have a wood storage room that is kept at around 60% to 70% relative humidity.
If your wood is stored in a very dry area with very low humidity around 20% to 40%, you run the risk of the wood loosing even more moisture and becoming dry.
Most processed carving wood will have between 5% and 15% moisture content, depending on how it was dried. The more you dry the wood, the tighter the wood fibers get and becomes a harder wood to carve!
You don’t want to store the wood in an environment that is too humid or wet as this will cause the wood to grow fungus and start to decompose.
Use Freshly Cut Wood
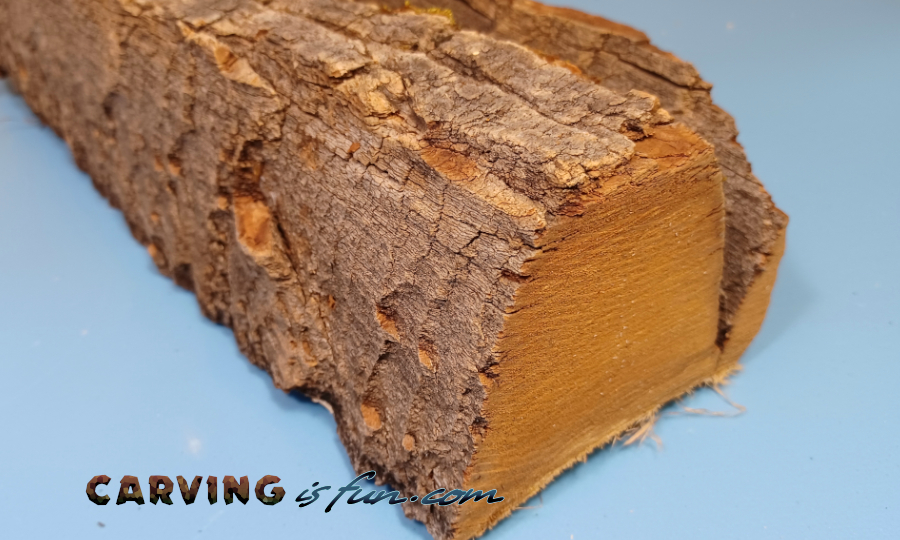
If you have the availability, sourcing freshly cut wood that contains the natural moisture from the tree is going to be the easiest way to ensure the wood is at its softest point for carving.
One of the best ways I have found to get a hold of freshly cut wood is to make friends with your local tree removal services as they will be able to find wood from a multitude of difference species both common and rare. I commonly see pictures from one of my friends who removes trees with beautiful wood that he himself turns into tables and furniture.
You can also collect wood from local parks and nature preserves if they do maintenance by clearing out downed trees on trails or roads. You can call up the park managers and see if they will let you know when they do some clearing.
I have even collected logs and thick branches on the side of the road in my neighborhood from people doing random yard work. I just stop by and throw what I want in the trunk, just don’t leave a mess and nobody will mind.
Use Air Dried Wood
For those of you who don’t have a local source of wood and have to resort to ordering in wood to carve, you can still find softer wood to carve as well!
When ordering wood, see if it is air dried instead of kiln dried for a more enjoyable carving experience. Air dried wood is dried over the course of months to years instead of rapidly dried in a kiln over the course of days.
This allows the wood to naturally dry and retain some natural moisture and prevent the wood fibers from binding up tighter, making the wood harder to carve.
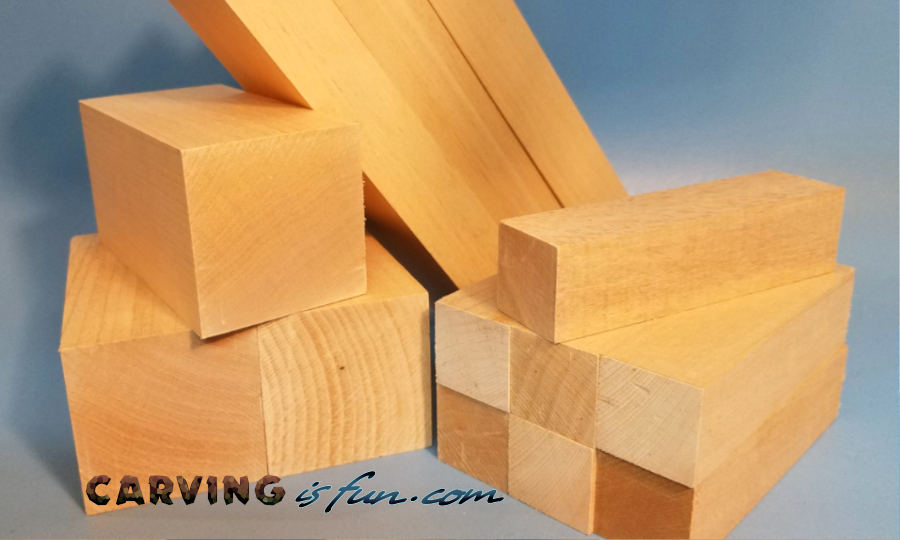
There are only a handful of places that sell air dried basswood, most of them can be found on ebay, like this one here. Some other options that sell high quality, easy to carve basswood are some of the companies listed below:
https://treelineusa.com/basswood-practice-block-1/
https://heineckewood.com/block-wood
https://mdiwoodcarvers.com/products/medium-flat-rate-box-of-basswood
Apply Mineral Oil or Baby Oil
A common item that many people may have is mineral oil for their kitchens cutting block or baby oil. You can use mineral oil and baby oil to both soften the wood for carving and as a wood finisher at the end to help seal and protect your wood carving.
When using these oils to soften the wood, you may want to only apply to the sections you wish to carve at that time.
Apply liberally and allow 2-3 hours for the oil to soak into the wood. If the wood is dry, it will typically absorb the oil like a sponge and hydrate the wood.
Using mineral oil has the additional benefit of acting as a blade lubricant. So not only will you be able to cut into the wood easier, there will be less drag on the tool while cutting.
Apply WD-40
A very handy option that nearly every household may have available is using WD-40 to help soften wood for carving. Since WD-40 is mostly made of mineral oil and some solvents, which help it absorb quickly into the wood and allow for easy carving.
To use WD-40 to soften the wood you wish to carve, spray in the desired location you wish to carve and wait about a minute for the mixture to absorb into the wood.
If the wood is dry the wood will quickly absorb the WD-40, leaving a shiny surface. If the wood absorbs it really fast, within 10 seconds, apply once or twice more for an easier carving experience.
Even though one of the primary ingredients is mineral oil, this is not a food safe option and is only recommended for carvings that will be used as a display piece.
Also, keep the carvings away from an open fire source for several hours to a day until it has had the time for the fumes to disperse.
Odorless Paint Thinner
If you already plan on using a wood finish or wood sealer that requires the use of thinners, try using an odorless paint thinner to help soften the wood.
The thinner is primarily used to help promote absorption into the wood and can be quickly used to add some moisture into the wood. Just use the odorless options as they are typically less toxic and have fewer fumes.
To apply, just use a paintbrush to soak some of the thinner on to targeted sections of the wood to help soften it forcarving.
Before applying, there are two major drawbacks to be aware of. These thinners are chemicals that could be hazardous to your health if you use the wrong ones, so read the instructions. Using in a well ventilated area will help reduce breathing it in.
Also, the thinner could ruin the finish on your tools, so be mindful of getting it on your hands and tools.
Soak in Low Odor Kerosene
A really cool trick that I heard from one of my YouTube viewers is to use low odor kerosene to soften the wood. It absorbs quickly into the wood and lasts a long time.
To apply, simply use a paintbrush or rag to transfer the kerosene to the wood. If the wood is dry, it should absorb quickly.
It would also be wise to keep the wood away from an open flame until the fumes have dissipated. Also, use the odorless versions in a well ventilated area.
More Ways to Make Wood Easier to Carve
There are several other ways to make wood easier to carve that extend beyond softening the wood, check out the video below for more information!
if you want to find a different type of wood to carve, check out my list of the best woods for wood carving and whittling below!