How many hobbies out there can cost upwards of hundreds of dollars just to get started? It’s super irritating. Now you’re wondering is wood carving the same way?
Wood carving does not have to be an expensive hobby. A beginner can start whittling with some sticks or saplings, a pocket knife, and a sharpening stone for approximately $30. Pretty good news, right? The expenses start racking up with the more tools you buy, the wood carving style you choose, and any extra workshops or training.
Want a breakdown of the costs? Keep reading to see what it takes to get started and how much you can expect to pay once you become a more experienced wood carving hobbyist.
Does Wood Carving Cost a Lot of Money to Start?
Wood carving can be considered expensive if you intend to arm yourself with all the tools, trimmings, and your own workshop in your garage. However, you can get started with just a pocket knife and some branches.
With these simple supplies, you can get a number of projects made, such as kitchen utensils, wooden ornaments, spearheads and fishing spears, tent stakes, guitar picks, or even your own carving tools, to name a few.
When it comes to getting started, all you need is the following:
- A pocket knife ($6 – $60)
- A sharpening stone ($10 – $30)
- Some branches (Free)
So you can get started with as little as $30!
While I do not recommend getting the very best, professional-grade tools at first, I would avoid buying very cheap tools. You don’t want to carve with a knife that is poorly made because it will either quickly break, or blunt very easily. As for the sharpening stone, I recommend a good quality stone that’s easy to use and take care of. These don’t have to be expensive at all, like the Sharp Pebble Whetstone on Amazon, its easy to use and can get your blades nice and sharp. You can buy yourself one here: https://amzn.to/3CEVQGF
The starting costs of wood carving can also depend on which style of wood carving you want to get into, some are more expensive than others.
Types of Wood Carving Styles and Their Associated Costs

There are 6 different wood carving styles that all produce extraordinary pieces. Each of these styles is unique from the others and often requires its own sets of tools in order to get started. Let’s take a look.
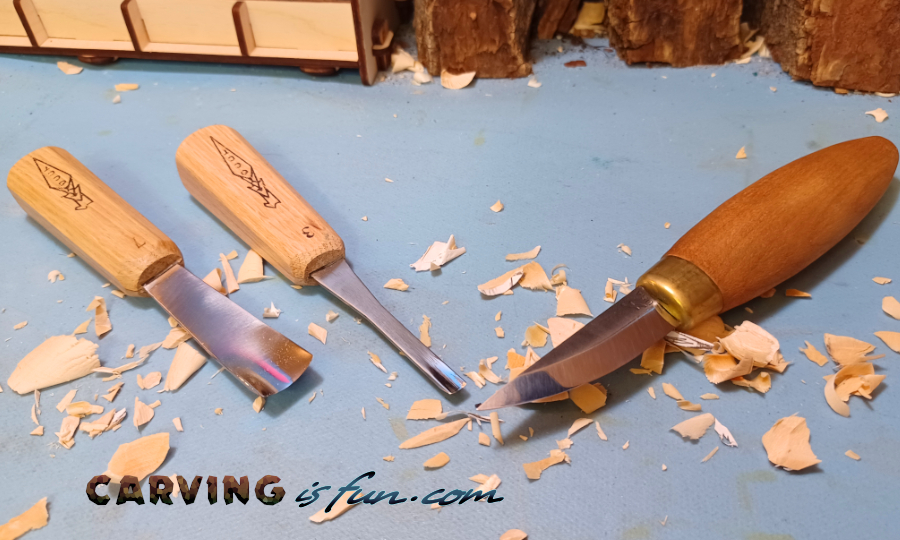
Whittling
This is easily the cheapest style to start with. Ultimately, all you need to start is your pocket knife. If you want a more expansive tool kit, whittling does offer different types of knives to satisfy different cuts like removing large sections of wood or adding fine details.
- Sloyd Knife ≅ $15 – $50
- Roughout Knife ≅$15 – $40
- Detail knife ≅ $12 – $40
A really good and affordable kit to start out with is the Beavercraft Whittling kit as it comes with a few different knives, a tool organizer to store them, and a leather strop to keep the knives honed sharp. You can pick one up on Amazon here: https://amzn.to/42NhtPt
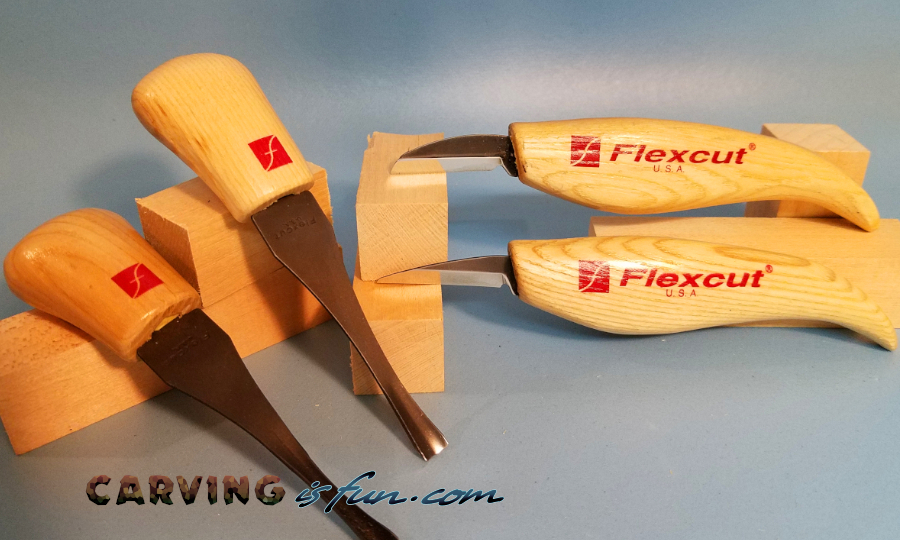
Chip Carving
Chip carving involves taking off multiple tiny angular chips with a single stroke. The result is a beautifully intricate design, but in order to achieve that design, you need specialized knives such as a long skew edge knife, straight edge, or double-sided curved knife.
- Straight edge ≅ $15 – $35
- Long skew edge ≅ $15 -$35
- Double-sided curved edge ≅ $ 15 – $35
For those of you looking for a really nice chip carving knife set to start your carving journey, I highly recommend the Flexcut Chip Carving Knife set. You can find it for a great price on Amazon here: https://amzn.to/433A1eN
Power Carving
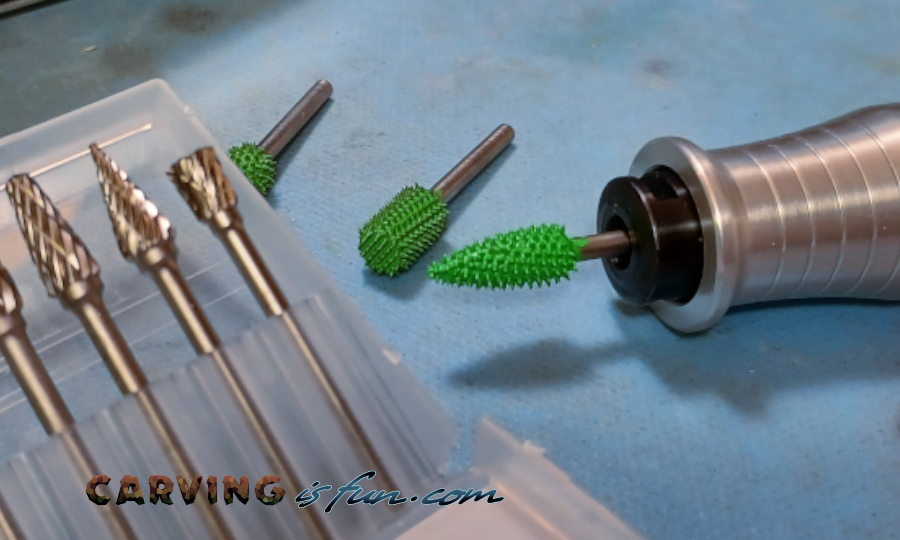
As the name suggests, this style requires power tools such as motor-driven, rotary, or reciprocating burrs and chisels in order to carve. Power carving tools are fantastic when you’re dealing with harder woods such as walnut or oak, but they tend to get pricey. Common power carving tools include:
- Power chisel ≅ $100
- Burrs for power tools ≅ $20 – $30 per bit
- Air compressor ≅ $600
- Micro-detailer ≅ $200 – $500
- Basic rotary power carver ≅ $330
As you can see, this style can be quite expensive and is usually not recommended for beginners. But if you do want to get into this type of carving, don’t start cheap. I have burned through 5 different rotary tools that only lasted me a few months tops. Get something that will last, like the Foredom rotary kit. It’s powerful, durable, and comes with lots of accesseries. You can pick one up on Amazon for a great price here: https://amzn.to/3Nhagl7
Wood Burning
Wood burning, the art of burning detailed images into wood, also requires a distinct type of power tool: the burner. More specifically, you need an appropriate power supply with a transformer, a wood pen, burning iron, and burning tips.
- Wood-burning pen ≅ $10 – $50
- Wood-burning tips ≅ $5 – $20 per tip
- Power supply ≅ $60 – $120+
Getting a cheap pyrography kit will help you get into the craft, but if you want something that will last you will have to get something with some real power and made with durability in mind. The Burnmaster Hawk kit is perfect for those of you looking for something that will last and give you nearly endless options for what kind of tips you can use. Pick yours up on Amazon here: https://amzn.to/3NCJoxh
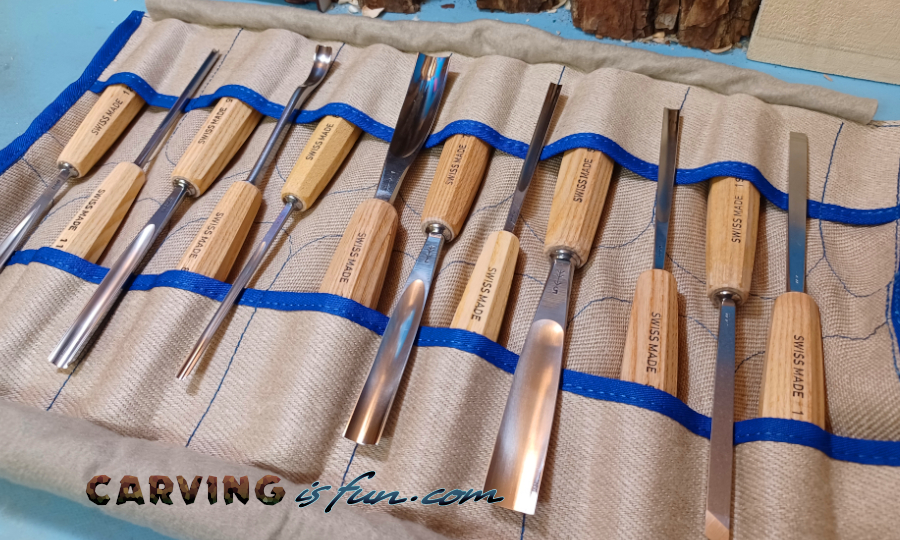
Relief Carving
Relief carving can be very intricate, but the results are definitely worth the effort. It is typically performed with hand tools, usually gouges, chisels, and mallets. Relief carving is one of the more affordable styles of wood carving.
- Individual gouges and chissels ≅ $15 – $50 each
- Chisel and gouge set ≅ $80 – $500
- Wood-carving mallet ≅ $15 – $60
You really don’t have to spend a lot of money to get a decent carving set to start off with, and you can get a really nice set of 12 tools that come razor sharp and ready to use right out of the box for a really good price.
If you are lost in the sea of tools to look for, pick up the Schaaf 12 piece carving set on Amazon. It is by far the best value of the sets out there and will last you for years. Pick up a set here: https://amzn.to/3NCxd3y
Carving in the Round
Of all the wood carving types, carving in the round requires the least amount of tools. All you need is a chisel and mallet to remove chunks from a chunk of wood until you have a 3D sculpture. You can use many different sized chisels across a variety of carvings, making a multi-chisel set a good investment.
- Wood carving chisel set ≅ $20 – $60
- Mallet ≅ $20 – $60
What are Other Costs Associated with Wood Carving?
As we’ve seen, wood carving is not an especially complicated hobby when it comes to the supplies you need. Still, it would be nice to know how much common tools, materials, and other accessories cost so that you can save for them accordingly.
Common Tools of the Trade
I know we’ve just covered several lists of tools, but these are only the tools specific to each style. We haven’t even touched the files, saws, or lathes that are used across many different types of carving. So let’s see what other tools you should consider buying.
- Coping Saw ≅ $5
- Files ≅ $4
- V-tool ≅ $50
- U-guage ≅ $15
- Wood Lathe ≅ $300 – $1000
- Sharpening strop ≅ $30 – $40
Primary Wood Type Costs
We can’t have an article on wood carving costs without talking about some common wood. Technically all wood is fair game for a carver, but not all types of wood are created equally – some are naturally better for carving than others.
Apple
Applewood, while a favorite for its gorgeous appearance, is not cheap. It is often featured in furniture, but the best material you are likely to get is the applewood chunks used for BBQ on eBay for $30.
Balsa
Balsa is very popular for beginners and carvers wanting to create things like their own utensils because it’s very soft. You can get a 12”x2”x2” block for $15. Baltic birch sheets, good for wood burning, cost $15 for a 3 pack of 12”x12”x1/4” panels.
Basswood
Basswood is a lot like Balsa – it’s soft and cheap. At less than $15 per block basswood is a great choice for beginners. A 5”x2”x2” block can even be $5.
Birchwood dowels
Dowels are a great way to get a head start on certain projects, such as chopsticks or furniture legs. Birch is an inexpensive wood, ranging from $8 – $60 depending on the circumference and quantity of the dowels.
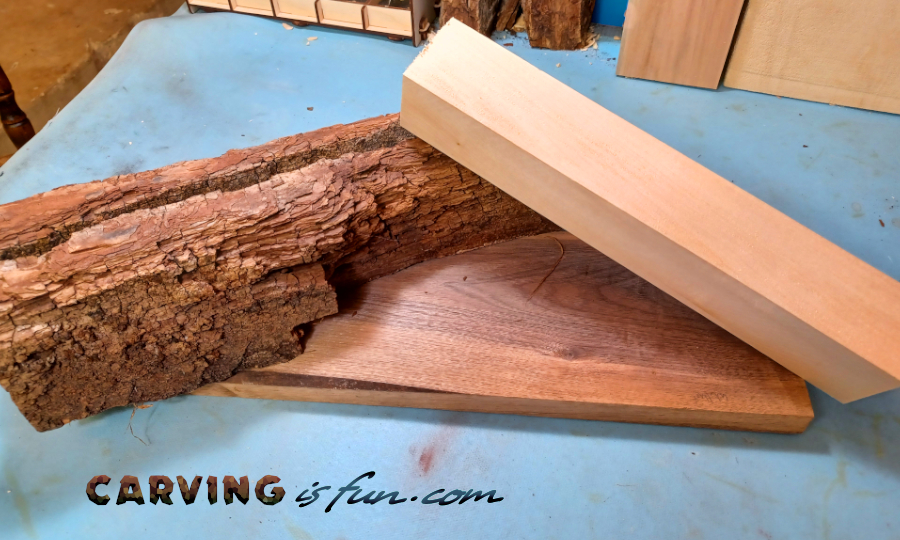
Black Walnut
Black walnut is highly sought after for its rich color, but its grain patterns make it prone to chipping the wrong way. You can get a ¾”x2”x12”block for $15.
Maple
Maple, specifically sugar maple, is exceedingly cheap at $3.50 – $5 per sq. ft. and may not give as much trouble as walnut because it has a fine grain.
Oak
White oak is one of the cheapest options on the list. Its cost ranges between $4-$6 per 4×4 board. It’s very difficult to get a hold of a natural section of an oak tree.
White Pine
White pine is also considerably cheap, especially compared to fruit tree wood. Pines of various sorts are readily available online. A set of ¾” White pine blocks are about $18 – $40. Bowl blanks are also available.
Wood Carving Tutelage
While you can learn from a series of wood carving YouTube videos, which is certainly doable, and free (minus internet provider costs), it’s a good idea to learn at least the basics from a pro in person. Otherwise, you don’t have the benefit of having a teacher with you to give you one-on-one guidance.
When you’re taught in person, your teacher can give you the best angles and close-up views of what they’re doing and correct your strokes or answer your questions in real-time. With videos alone, you can still learn how to carve wood, but this probably will take more time and the learning curve will be steeper.
Course videos from wood carving academies may require a weekly, monthly, quarterly, or annual subscription which can range from $20 – $140, depending on which subscription plan you choose.
Wood carving workshops are fairly cheap and extremely informative. They tend to range between $100 – $800. The cost will depend on the length of the course and the level of difficulty of the project.
Lastly, wood carving retreats are for serious carvers who are willing to pay to learn from masters. Retreats such as those hosted by Raymond Kinman will cost $1,650 per person for a 3-day retreat.
How to Save Money in Wood Carving
In addition to starting with only the most necessary equipment and cheaper wood to practice on, there are some other woodworking budget tips I can give you.
Measure Twice, Cut Once
A good way to save on wood (especially if you intend to use expensive wood) is to take accurate measurements and to effectively trace your design. Don’t just sketch, though that’s a great first step.
Know the Moisture Content of your Wood
When the wood you use has too much or too little moisture, you can quickly run into problems with your wood’s workability – wasting money and time in the process.
Too much moisture in greenwood can cause your marks to erase themselves over time as the wood dries. On the other hand, wood that is too dry won’t allow you to easily make smooth cuts, which can also lead to injuries.
You can tell if your wood is too dry by taking a small sample of it and putting it on a baking sheet. Stick it in the oven at 212℉ (100℃) for half an hour. If it turns to ash, it’s too dry.
Label your wood
Organization can be a priceless time and money-saver. If you are working on multiple projects at once, it would be devastating to mistakenly carve the wrong design on the wrong piece of wood. You can save on materials by labeling pieces with a marker.
Oil and Seal your Work
It would be a shame for all of your hard work to degrade and get ruined in a short amount of time because of weather conditions. If you live in a drier climate, for instance, you are probably familiar with the need to regularly oil wooden tools and furniture so that they don’t split. You can also seal your wood to prevent damage from moisture or the sun.
Get to Know Each Type of Wood You Work With
Over time, you will start to become familiar with the kinds of wood are the best for the project(s) you want to do. You’ll start to pick up things like how yew is great for making a bow because it’s stable, strong, and elastic, or that maple is awesome for cutting boards because of its close-grained cellular structure that resists bacteria.
The more familiar you are with various wood characteristics, the less likely you’ll be to use the wrong wood for your project.
Keep Your Blades Sharpened
Keeping your tools sharp doesn’t just prevent injuries, it allows you to work more efficiently and accurately so that you can avoid making devastating cuts that ruin your work. Before making any cuts, inspect your tools and sharpen any that appear dull or chipped.
Conclusion
There you have it! Wood carving is not an expensive hobby. It just costs more the deeper you dive into the wood carving passion. Out of all of the hobbies, woodworking may be one of the most valuable as its own trade. In other words, with enough practice, you might be able to enjoy a nice return on investment for those tools and supplies.