If you are just getting into wood carving or feel like the wood you are carving is a little hard to cut into, you are probably looking for some quick and easy tips to help speed up the carving process so you can continue having fun! In this article, we will go over some quick and easy tips to soften the wood you already have, make the carving process easier, and how to get your future projects off on the right foot.
Some quick and easy ways to make the wood you are using easier to carve by soaking it in water or spraying a 50/50 mixture of rubbing alcohol and water to the areas you are carving. Other ways to make wood easier to carve is to pick softer woods like air dried basswood, ensuring your carving tools have a narrower cutting edge angle, and keeping them honed while carving.
Lets go over each one of these options in more detail as well as a few more options to consider as well.
Soak Your Wood in Water
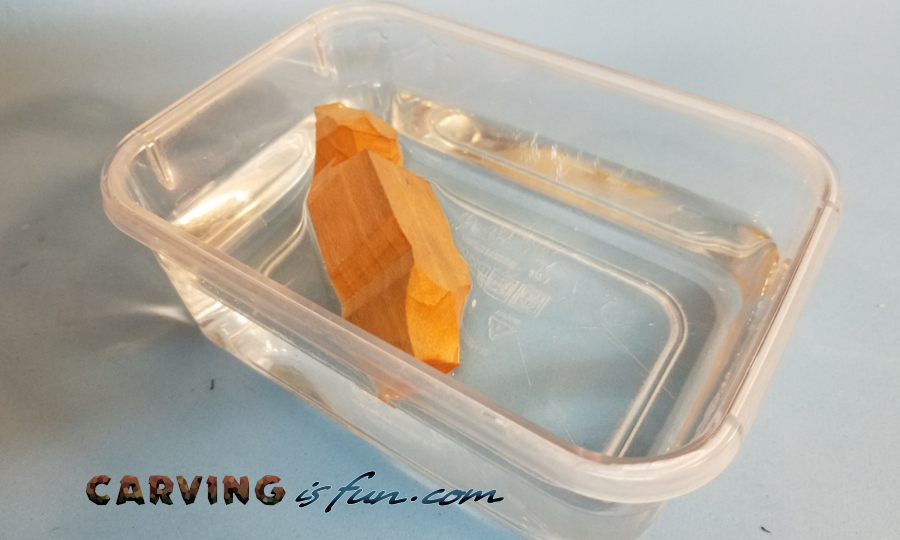
Sometimes you will end up with a super hard block of wood that has been sitting in the sun for a long time or has been kiln dried for a really long time.
The easiest way to make wood easier to carve is to soak it in a bucket of water for 30 minutes to a few hours to make it softer. Keep the wood completely submerged for an even soak and periodically check the wood softness every 30 to 60 minutes to make sure the wood isn’t too soft and waterlogged. If the wood is too soft, it will start deforming when cutting and won’t hold detail very well.
Keep in mind that when you are soaking the wood, it will start expanding. This can cause issues when the wood dries for two reasons; the wood may form cracks along the wood grain when it dries and the wood could start to warp or deform if too soft. To prevent this from happening, don’t soak the wood for too long but just enough to make it a little easier to carve.
Finally, since you will most likely be carving with high carbon steel tools, make sure to clean off the tools and oil them before placing them back in storage otherwise the blades may start to rust.
Spray Rubbing Alcohol on the Wood
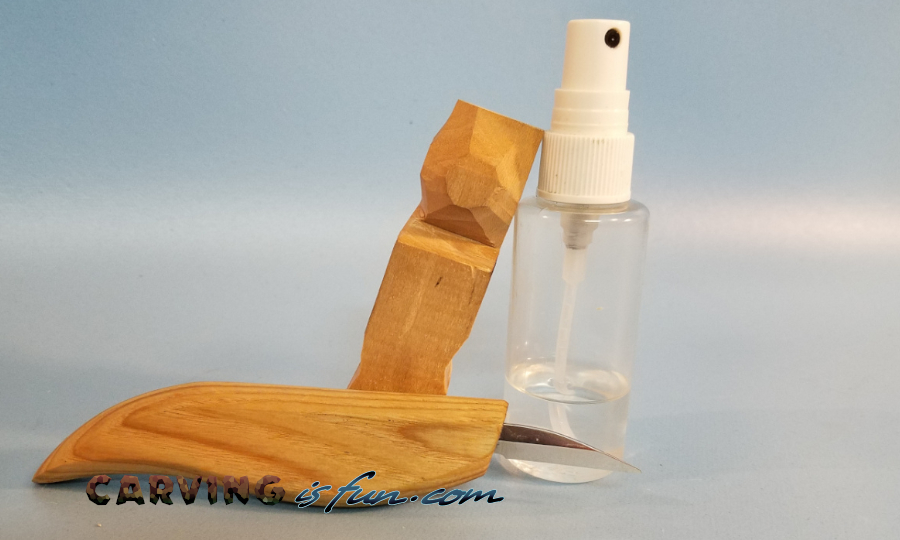
If you want to quickly make a certain spot of wood easier to carve without soaking the whole block, you can spray a 50/50 mixture of water and rubbing alcohol on the wood your are carving.
Spraying wood with a 50/50 mixture of rubbing alcohol and water will allow the water to quickly penetrate the wood and make it easier to carve in seconds, resulting in an easier section of wood to carve. The rubbing alcohol greatly reduces the surface tension of the water so it can quickly absorb into the water and the added water prevents the rubbing alcohol from evaporating too fast.
This is a great and easy way to only soften the spots you want to carve to prevent cracking and over saturation. Just keep a small spray bottle with you and spray it as needed.
Carve Green Wood
Wood is easiest to carve when it is freshly cut from the tree, which is commonly referred to as green wood. By carving green wood, you have the advantage of the wood containing its natural moisture, evenly distributed throughout the wood.
This makes it easier to carve some of the most popular woods into shapes and utensils that become much harder when dried, making them more durable for every day use.
One of the disadvantages of carving green wood is that when it dries out, the wood will shrink and possibly warp or crack. Even experienced wood carvers have to occasionally scrap some of their projects due to defects from the drying process, which can take weeks or months.
Carve Air Dried Wood
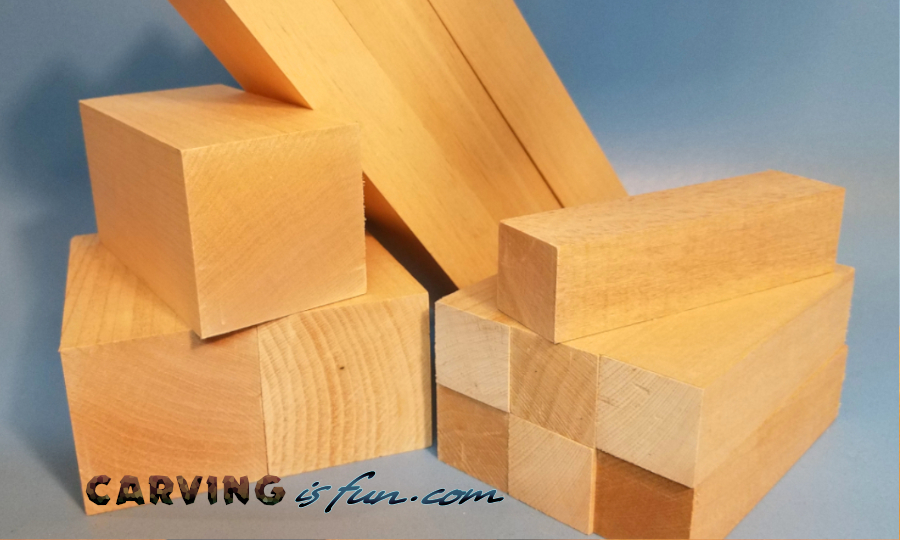
For most of us, dried wood will be the only carving wood we will have easy access too. However, not all wood is the same, even within the same species of wood!
Air dried wood is usually much easier to carve than kiln dried wood as the wood is dried at a much slower pace, allowing the wood fibers to naturally settle and will usually have a slightly higher moisture content.
Most wood you will find for sale is kiln dried wood, this is because it is a much faster way to process and prep wood for sale. Air dried wood can take 1 month to a year to properly dry while kiln dried can be just a few days.
You can find some air dried wood in some specialty shops or from other carving enthusiasts from online marketplaces like ebay, click here to check out ebay for some great options.
Pick Wood With a Fine and Even Grain
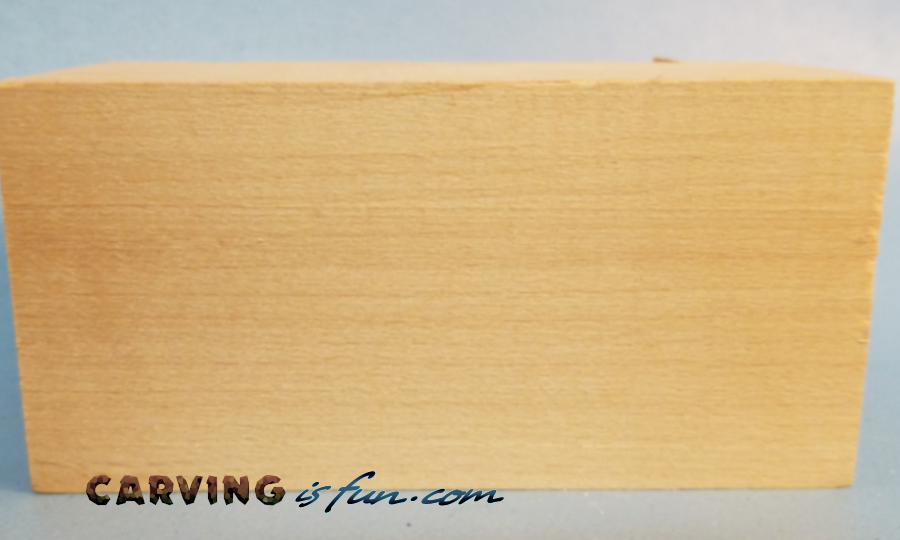
One of the key factors that can influence how your knife behaves in the wood is the direction of the wood grain. If you don’t know the direction of the grain, it can make things a lot more difficult to carve.
Carving wood with a straight and fine wood grain will make your overall carving experience easier as you will be able to keep track of the direction of the wood grain to prevent accidentally splitting the wood and ruining your project.
One of the best wood options for carvers is basswood (also called lime or linden wood) as it has a fine and uniform wood grain that is easy to keep track of, is soft enough to easily carve with hand tools, and is hard enough to hold fine details.
Hone Your Tools Every 30 Minutes
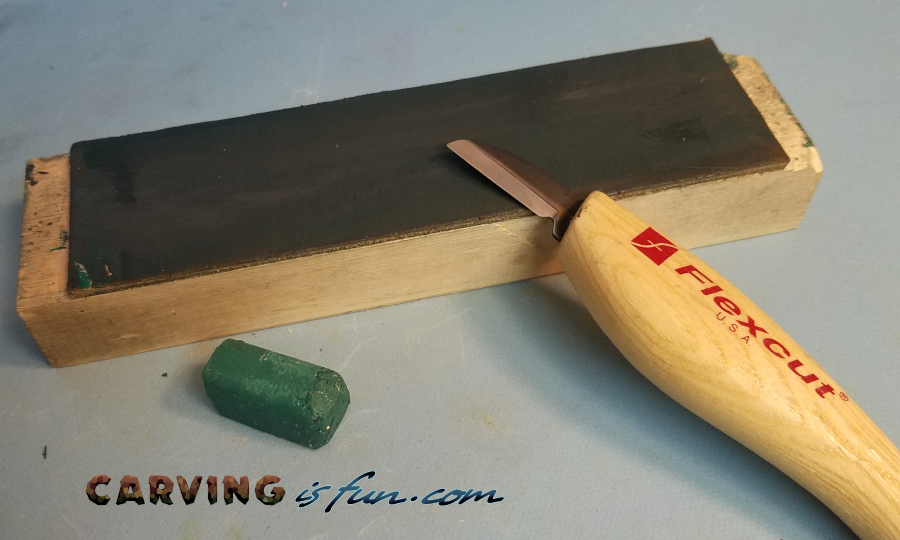
While your are carving, your knives and tools will slowly start to dull and will need to be sharpened again before they can safely cut through wood again. Maintaining your cutting edge is essential to any carver, especially while carving.
While carving wood, it is important to hone the cutting edge of the knives and tools you are carving with every 20 to 30 minutes. This will keep the edge razor sharp and allow you to continue carving without dulling your knife.
All you will need to hone your knife is a leather strop and stropping compound. Just hone the blade 15 to 20 times per side to help keep the edge sharp. For more information, check out my knife sharpening instructions here: https://carvingisfun.com/sharpening-a-knfie/
Use Thinner Knives and Tools
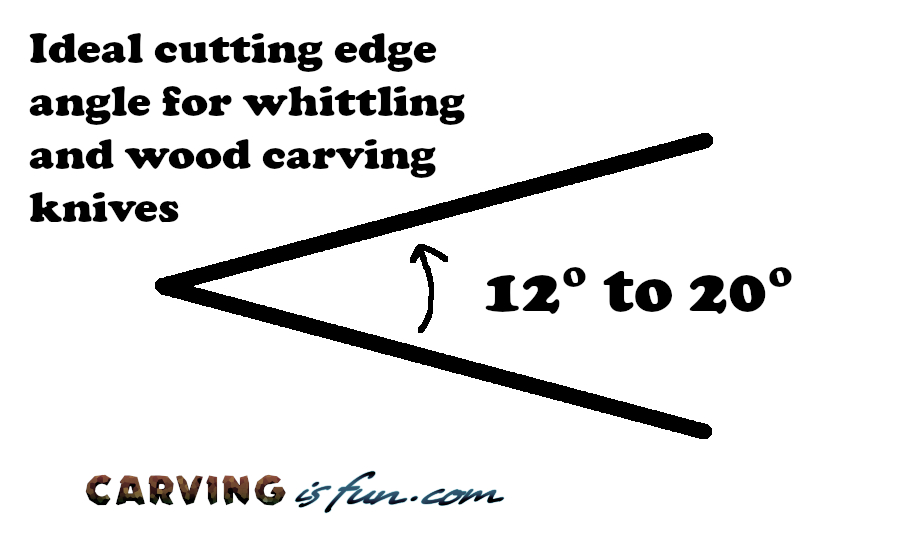
In addition to having a sharp wood carving knife, the thickness and cutting edge angle play a large factor in how easily the tool will cut into the wood.
The ideal wood carving knife cutting edge angle is between 12 and 20 degrees, inclusively, as this reduces the drag on the knife while slicing through wood and will usually result in a thinner knife.
Most higher end wood carving knives will have a thin blade and a cutting edge angle between 12 and 20 degrees. Some of the knives with edge angles on the smaller side will usually have a micro bevel to provide some edge retention.
Secure Your Carving With a Vice
If you are working on a carving that is just too big to hold by hand but isn’t heavy enough to stay in place, securing it in a vice will allow you safely secure the wood so that you can focus on carving and not worry about the piece moving around.
This is especially helpful you need both hands to better control the carving tool or want to apply more power to your cuts.
Use a Mallet
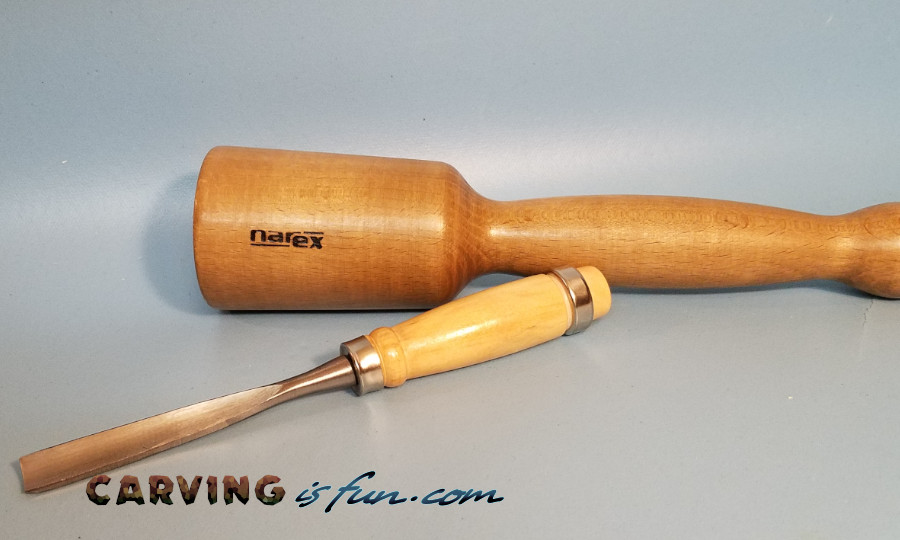
Sometimes you wish to remove a large section of wood and carving by hand can be really slow. But if you have the right mallet and chisels on hand, you can quickly remove wood and speed up your overall carving time.
Wood carving chisels can be used with a mallet to apply controlled force behind your cuts that allow you to quickly and easily remove wood with precision.
This method also has the added benefit of not wearing out your hands and wrists from constantly pushing the tools by hand. With some practice, this can be a very effective way to carve.
Use Power Carvers
If you want to quickly and easily remove wood, power carvers are one of the best options available.
Carving with power carvers is one of the fastest ways to carve wood. They use specialized wood carving burs on a rotary tool that can quickly grind away at the wood to create smooth and intricate details that may be hard to accomplish with simple hand tools.
You can use a simple Dremel and wood carving burs to get started, or use higher end power carving systems for a better experience.
Plan Your Carvings Ahead of Time
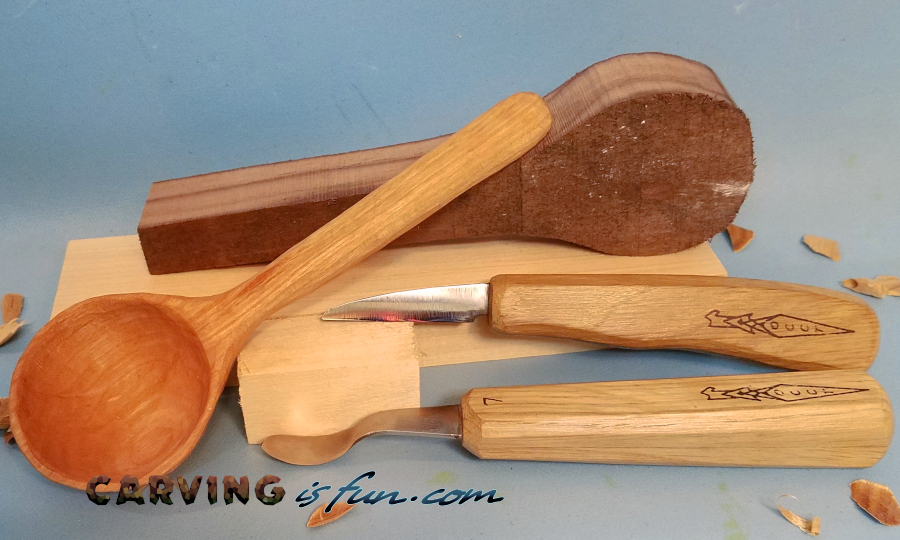
All of these tips above will account for nothing if you don’t plan what you are going to carve ahead of time. Without a known goal or target shape in mind ahead of time, you could face difficulties making the first cuts.
You can use many different methods to plan your carvings ahead of time, many beginners use templates and tutorials to help visualize what they are carving, some more experienced carvers may draw their own references from multiple angles to pre visualize what they want to accomplish.
Keep a pencil on hand so you can make reference marks on the wood to help you carve. This is especially helpful as it helps you keep track of where your next cuts need to be.
What Options Should You Pick?
If you are a beginner, you may want some quick and easy ways to help you along with your first wood carving.
By far, the simplest and most practical ways to make wood easier to carve is to soak the wood, spray them with a 50/50 rubbing alcohol mixture, keeping your tools sharp, and planning your carving ahead of time. By utilizing these tactics, you can make your current carving project easier without having to buy new tools or supplies.
