If you’ve never used a strop before, you use it after using a sharpening stone to further align the edge and polish the blade to hone it to a great degree. A strop is usually prepared by loading it with some kind of polishing compound, but if you’ve never used a strop before, you need some help to know how to apply the compound.
Don’t worry, it’s pretty straight forward. Keep reading, because in this article we’ll go over everything you need to do to prepare your strop.
Choose Your Compound for Loading Your Strop
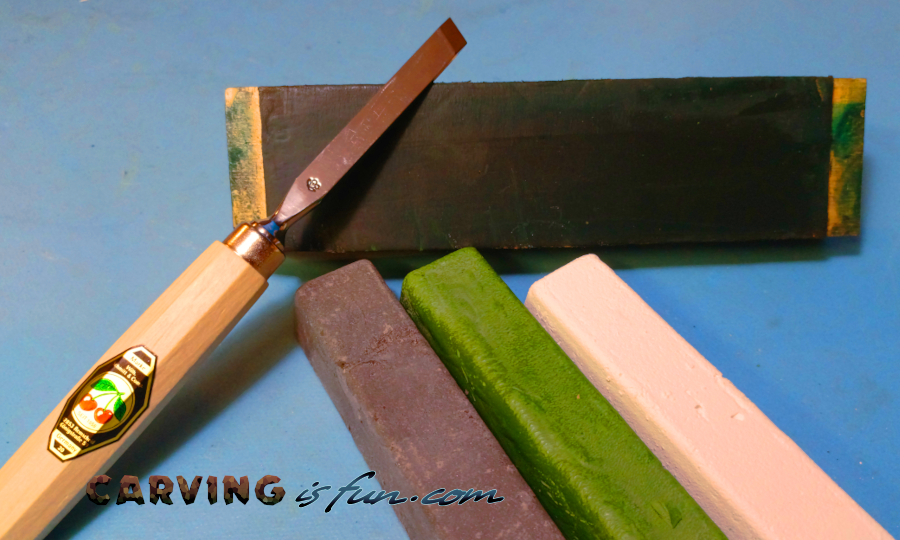
You can’t prepare your leather strop if you don’t have a honing compound to use! These compounds typically come in one of three forms:
- Diamond spray
- Diamond paste
- A polishing block
As you choose your polishing agent, there are two factors you should consider: the agent’s “bite” and its polishing effect.
The coarser the agent is, the more bite it has and the more material it will take off, but the finer an agent is the better it will polish. You can get both your desired bite and the polish you want by buying two honing blocks, one coarse and one fine for the perfect combo.
Diamond sprays will actually usually have a good balance of both bite and polish and come in a convenient spray. Diamond paste is also really good, but remember that compounds and pastes have different grain sizes, and it’s not obvious by the color.
One company may use green to denote its coarsest option while another uses it to denote its finest. So read the packaging carefully. If you’re new to stropping, it’s recommended that you use 3,000-12,000 grit compounds. After that, woodworkers usually opt for 0.5-microns (50,000 grit) compounds.
Gather Your Materials
Now that you know what honing compound you want, you need to collect the rest of your supplies. You will need,
- Your leather strop
- Isopropyl alcohol
- 320 grit sandpaper
- A stove
- Your compound
- A knife
- Paper towel
- A cloth
Clean Your Strop
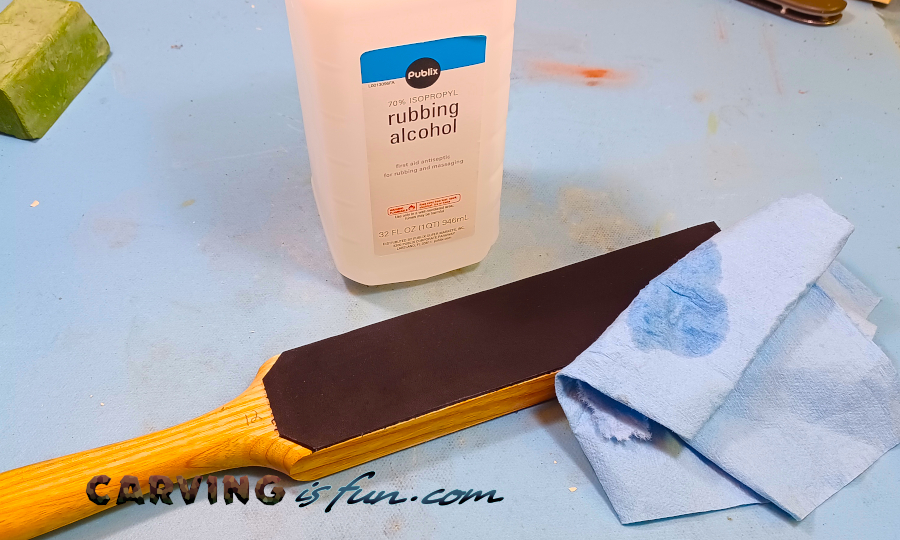
If your leather is clean, you don’t need to worry about this step, but if your leather strop is brand new, has been gathering dust, or got stained, it will need to be cleaned.
To clean your strop, apply your isopropyl alcohol and rub it down with a cloth to clean it thoroughly.
Next, use 320-grit sandpaper to clean it even better and to give the strop a texture that your compound will be able to hold on to. I wouldn’t use the sandpaper unless you have a brand new strop though. And remember to be gentle! You’re not trying to skin your leather.
Apply Mineral Oil
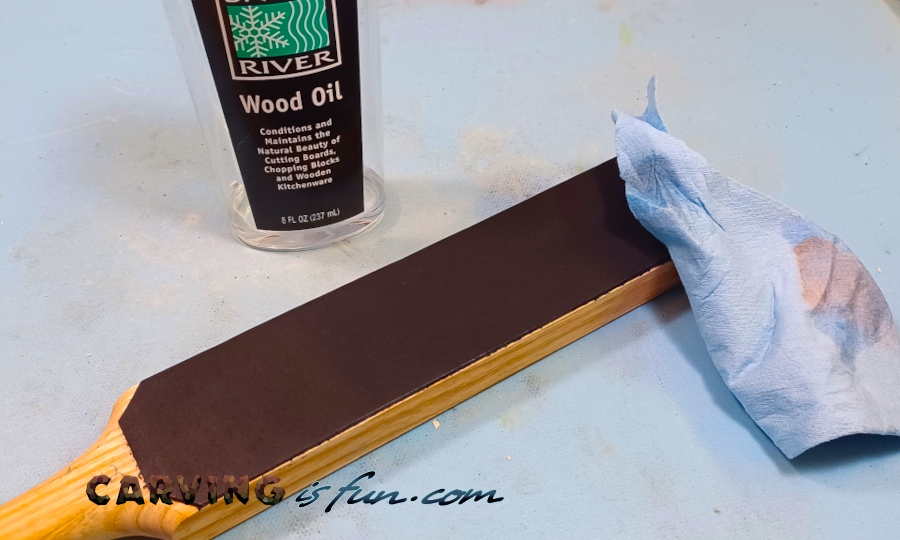
This step is really quick. If your strop is new or hasn’t been used in a long time, it would be a good idea to put a thin coat of mineral oil on the leather before you put on the honing compound. The mineral oil will help keep the leather flexible instead of brittle.
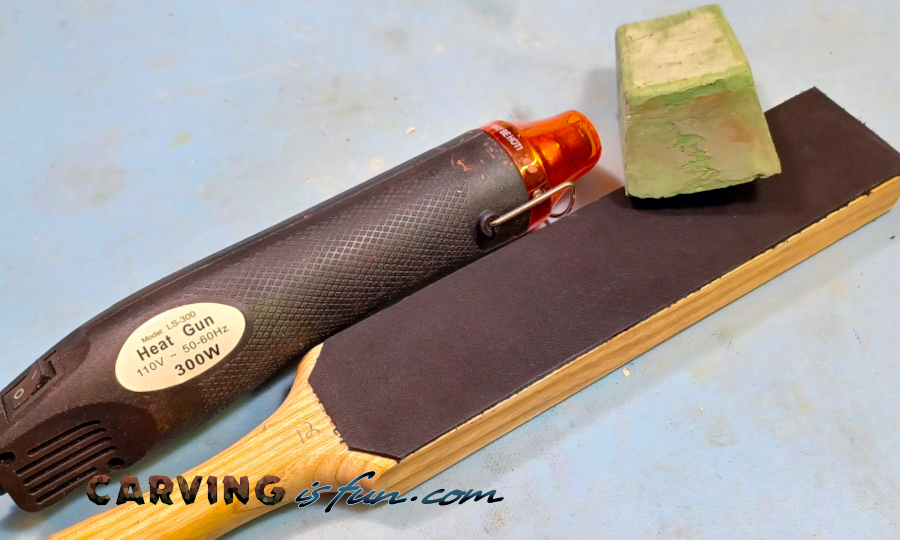
Warm Your Compound
Stropping compounds are often sold in a block, and that block can get pretty hard. You may need to warm up your compound block a little bit so that it applies itself more easily.
You can warm it by putting the block in the microwave for about 5 seconds, holding it in your hands if they’re warm, or holding it over a heat source. Be careful not to overdo it! You don’t want to smother the leather.
Naturally, this doesn’t apply to use if you opted for the diamond paste or spray.
Apply Your Compound
Now is the time to apply your compound. Regardless of which compound form you chose, all you want is a thing layer over the whole leather strip. Each is applied a little differently, so we’ll go over each one.
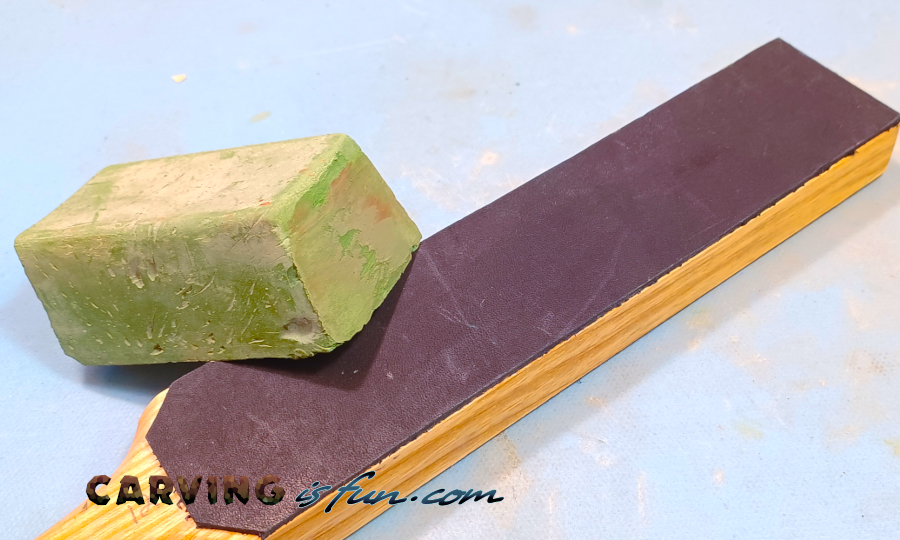
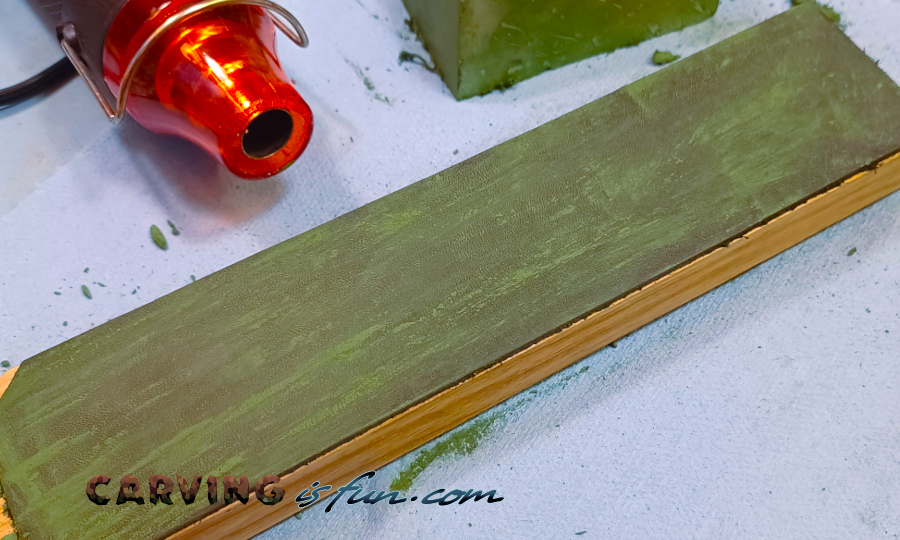
Compound Block
Use your block like a big crayon. You don’t need to cut off a piece, just hold the whole stick. You can use light, fast strokes in the same direction, or just rub the compound back and forth. The second way is a little better because you want to warm up the leather through friction so that the compound melts a bit and absorbs into the strop. You can rub it into the strop if the compound isn’t absorbing evenly.
Diamond Spray
The spray is very simple. You just spray it! The only difficultly may be in trying not to accidentally spray to much. Try to apply two even layers to cover the leather entirely. Remember that this stuff is extremely coarse, and getting it into your eyes in any way would be disastrous.
Diamond Paste
Lastly, to apply diamond paste, squeeze just a couple of pea-sized dots onto the leather and massage it into the strop with your bare hands. The paste will work fast. If your leather feels dry after you apply the paste, add a couple more dots. You don’t need much of this stuff so be careful. ALWAYS start with the finest grain paste possible. Applying a fine grain on a coarse strop works great, but vice-versa is messy.
Once you have applied your compound, use the edge of a knife at a low angle and pulling away from the knife’s edge to press the compound into the strop.
Heat up Your Strop
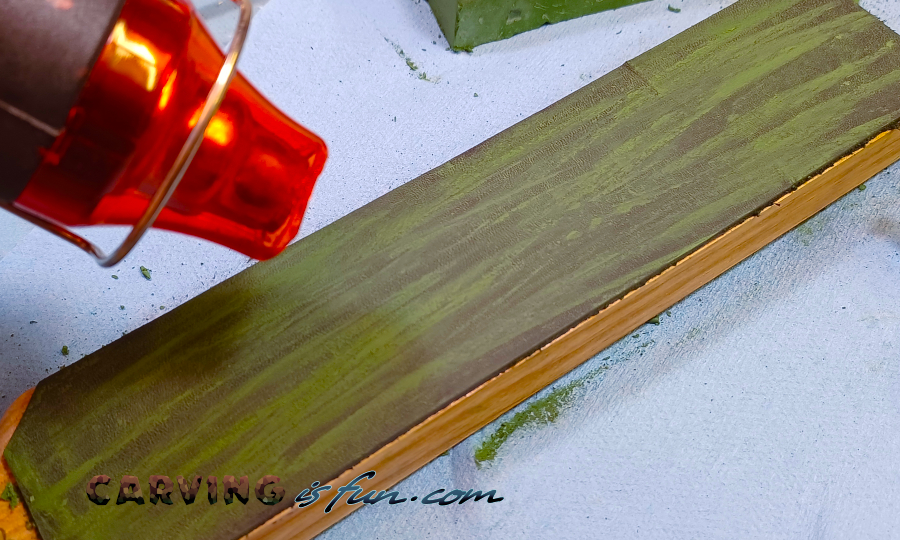
Now your leather strop is “charged,” as we like to say. Now, to really get the block compound properly absorbed into the strop, start up a burner and hold the leather over the flame so that you warm it but not burn it. Once the compound melts a bit, you can take your paper towel and rub it in. If your strip warps, you can easily fix it by laying it flat and putting a heavy book on top.
Be careful not to have the heat too low because the compound might flake off. You would have to try again in that case.
Start Stropping Your Tools!
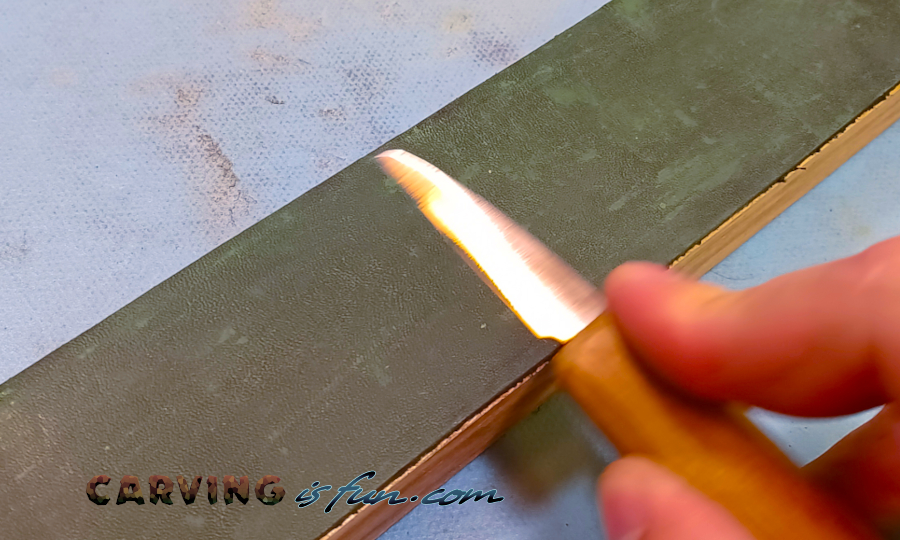
Once you have smoothed out your stropping compound to a nice thin layer, start stropping your tools.
Remember to strop with the cutting edge trailing. Never strop with your cutting edge leading or it will cut into the leather and damage your strop.
Conclusion
While stropping isn’t a difficult task, you might be asking yourself, “why bother?” especially when a casual sharpening stone seems to do just fine. It’s primarily for its polishing factor, removing any and all imperfections. Compare sharpening with just a honing stone and then with both the stone and strop, you’ll be surprised.