This fun and cute dog whittling project is perfect for beginners and takes very little time to make. My average times were between 20 and 40 minutes from start to finish.
Here is what you will need to make the dog:
- Sharp whittling knife
- 2″ x 1″ x 1″ block of wood
- Pencil
- Leather strop

You can using a larger block of wood if you want to, but it will take longer to whittle.
Before starting, make sure your whittling knife is nice and sharp. It is always a good idea to hone your knife with your leather strop before starting to whittle. If you feel like your knife is starting to dull out while whittling, strop each side 10 to 20 times and continue.
Video Guide
Step 1: Trace the Outline
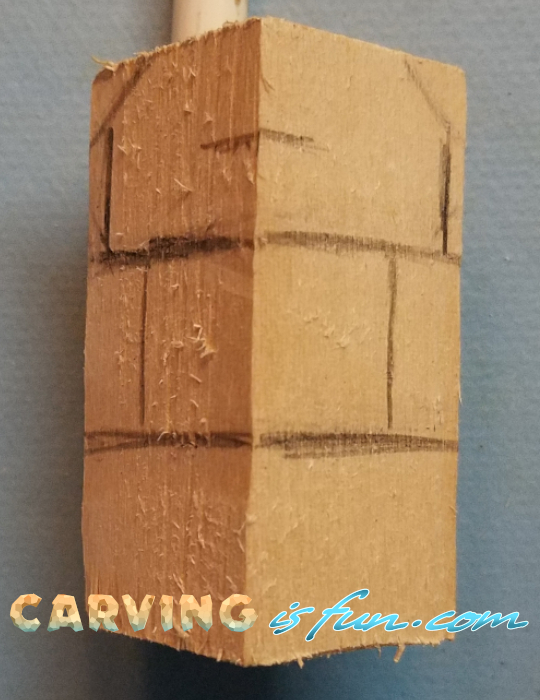
The first step is to trace the outline and make reference marks on the piece of wood. You don’t need to be exact or perfect, but having them close to what is pictured will be fine.
Here are the reference points I drew starting from the bottom up:
- Bottom line is the top of the back legs
- Two vertical lines in the middle is the body.
- Top vertical line is the bottom of the head.
- Single line in the middle of the head is the nose
- lines at the top and sides are the top of the head and ears.
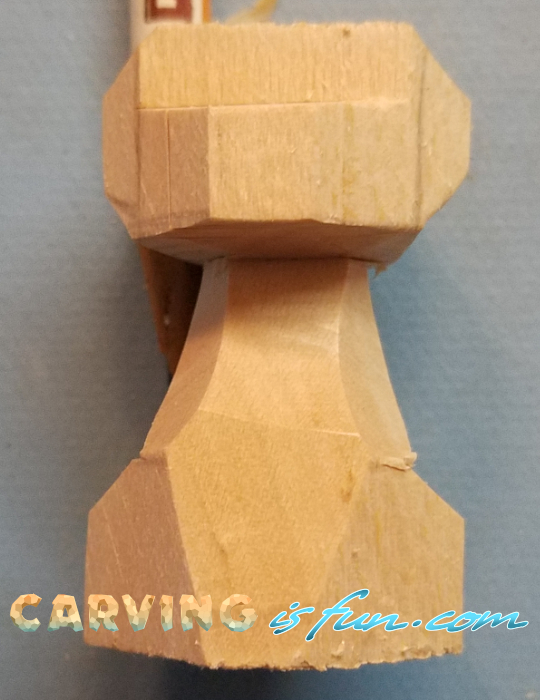
Step 2: Cut Out Rough Details
We are going to start cutting from the top down doing the following:
- Use a push cut on the top of the back legs and slice from the bottom of the head to the push cut on the bottom legs defining the sides.
- Start cutting out the outlines of the head and ears.
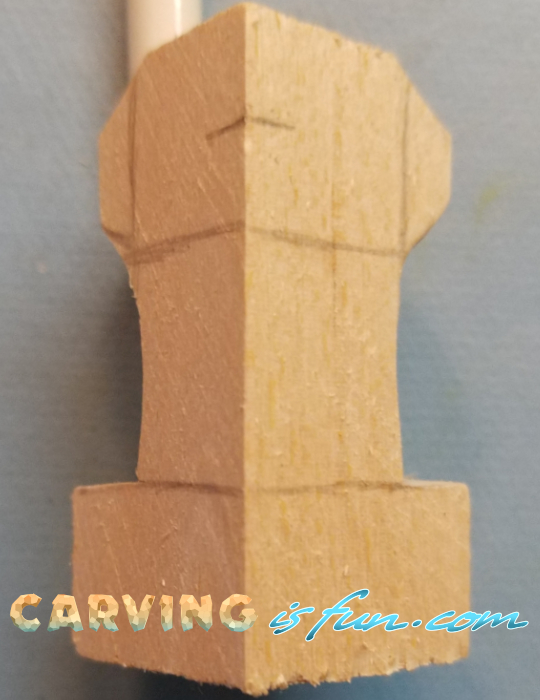
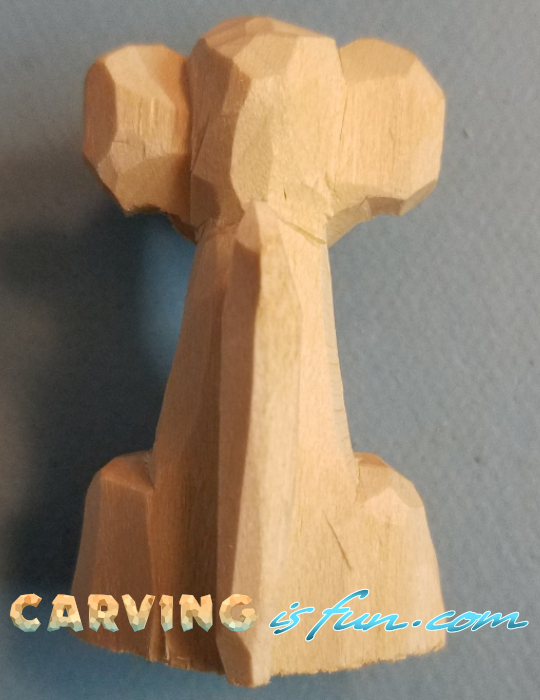
Step 3: Define the Head and Body
Now we are going to start shaping out the outline of the head.
Use a series of push cuts from the front and cut down with the grain from the top until you define the top of the muzzle as shown.
Then, slim out the body and neck of the dog to define the bottom of the head and neck.
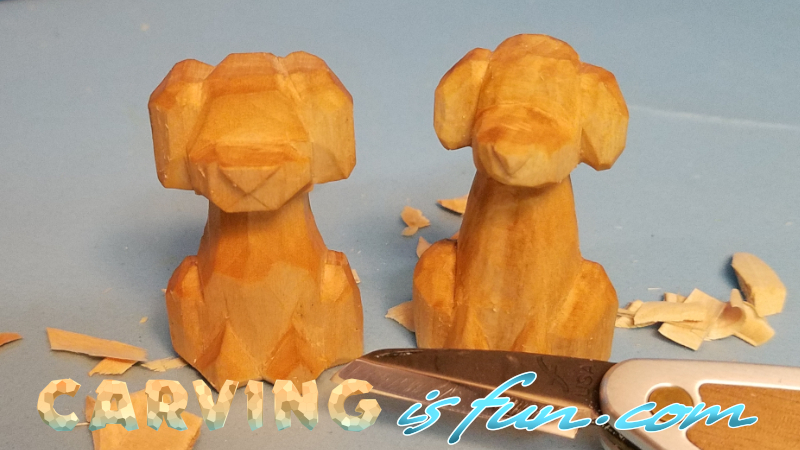
Step 4: Shape the Face and Front Legs
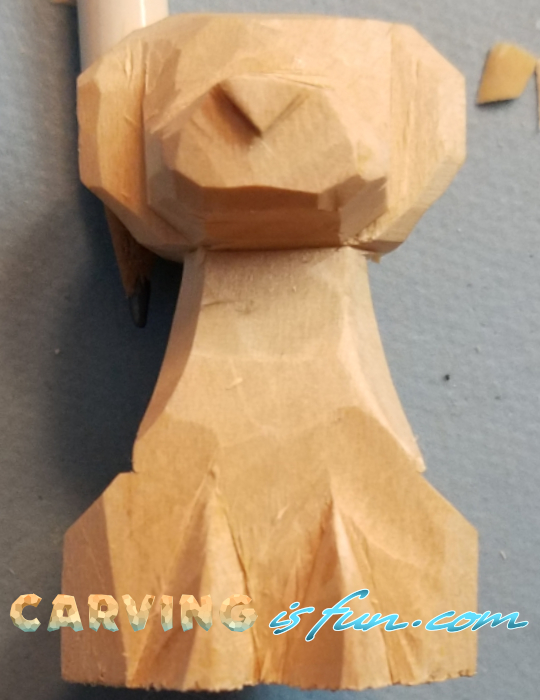
Now we start shaping the face, and front legs.
the easiest way to start the face is to cut out the sides of the face by making a push cut from the front on each side of the face and coming back in at a 90 degree angle and removing the wood. This will define the ears and the muzzle at the same time.
After you define the face, round it out for a more organic look.
Finaly you can make the nose. Cut off the front point to make a flat surface and make 2 press cuts in the middle of the muzzle front to make an X.
shave off the bottom and sides of the X you made, leaving just the top triangle and forming the nose.
The legs can be made in any matter you want, feel free to review the video above for more details.
Step 5: Add the Tail
The tail is super easy to make but also very easy to cut off if you rush it.
I like to start off by making a few push cuts to make the tail a more blocky shape, and then adding in detail with v-cuts and rounding the tail for a more natural look.
Step 6: Smooth Out
From here, remove any chips and clean up your work a little. If something looks off just smooth out the area and try your best to balance everything out.
Feel free to add eyes and a mouth to your wood carving, but you don’h have to. I like my wood carvings to look simplistic and find them to be more fun to make.
For more whittling guides and information, check out my One Stop Whittling Resource Page for more details!