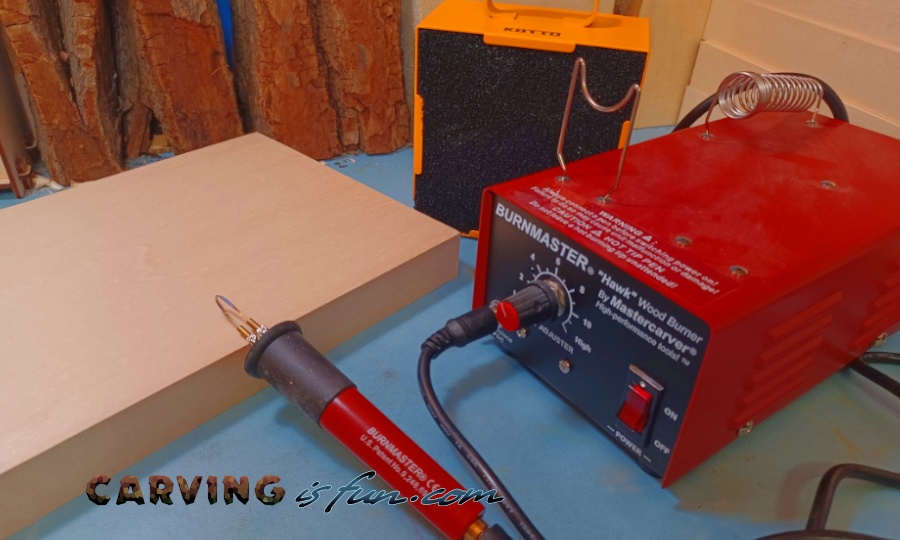
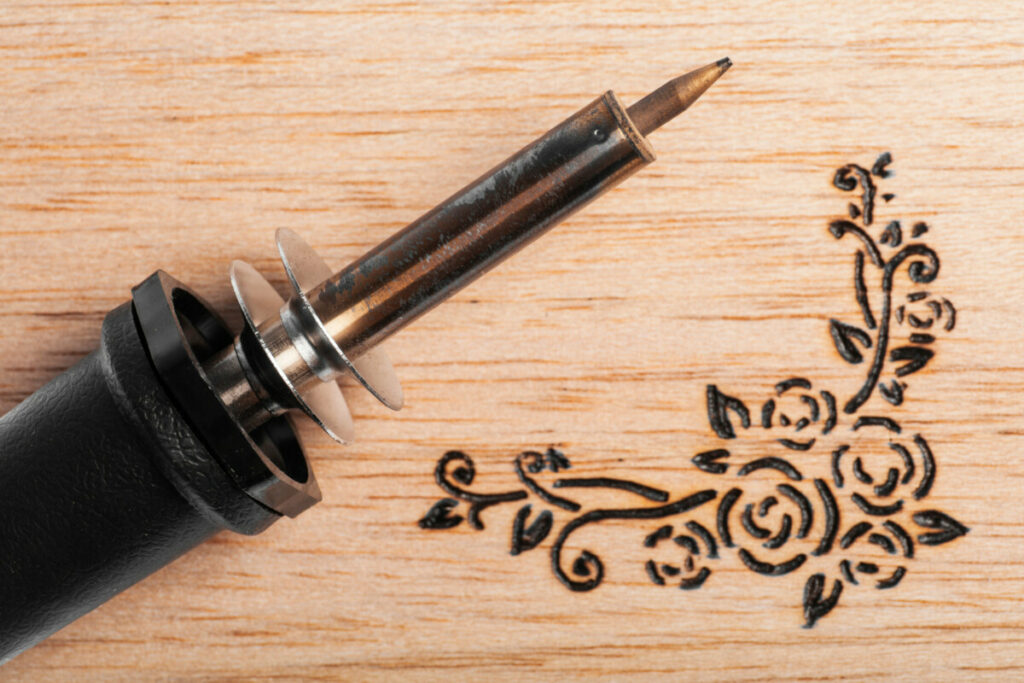
Wood burning, also known as pyrography, is an incredibly fun art form; you’re basically drawing with fire! Resembling a thick metal pen, the wood-burning tool heats up and uses interchangeable tips to create intricate, unique patterns on almost any wood surface. However, can you do wood burning inside?
Wood burning can be done inside as long as it is done in a workshop or a room with fans or an air filter. Avoid doing wood burning in a room in a house, as it will not be ventilated properly and the fire alarm will be set off. Never leave hot wood-burning tools unattended, even in a workshop.
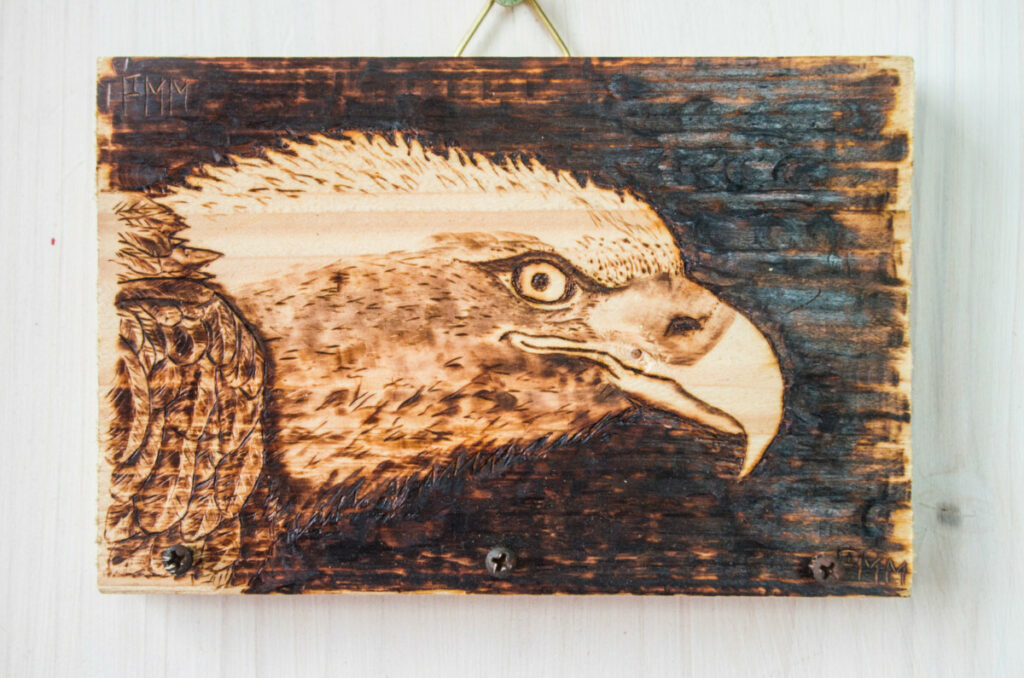
As an avid pyrographer, I can personally assure you that wood-burning is even easier than it looks and it’s well worth your time. Know beforehand what to do when working indoors—as well as what not to do—and you’ll soon produce your own unique masterpieces!
It’s All About the Wood
Do:
- Use dry, untreated, fine-grained wood
- Gently sand the surface
Don’t:
- Use wet, stained, synthetic, or painted wood
- Leave natural ridges on the surface
A quality wood-burned piece begins with a good piece of wood. If you want your design to look clear, use a soft, natural piece of wood for the base. Pine, aspen, birch, poplar, and basswood are popular selections for their light color and fine-grained texture. You can also use branches and trunk slices from trees as long as they are completely dry.
Using wood that has been treated (i.e. with paint, stain, or a finishing coat) is dangerous, especially indoors, because these materials release toxic chemicals as they burn. For similar reasons, never use MDF, other wood composites, or synthetic wood products. Wood that is still wet (i.e. green, recently cut) will not release harmful chemicals, but it will release a lot of smoke as you burn, which can be harmful to your lungs and eyes and to anyone else who is in the building.
Always sand the surface of your wood before beginning your project. I like to use 320-grit paper, but any fine grain will do. Ridges and bumps increase the risk of the burner slipping out of your hand and coming in contact with something flammable.
Take the time to sand down your wood; your work area will be safer and your pen will glide more smoothly. Besides, there’s nothing more frustrating than trying to burn a line in your drawing and having the tool get repeatedly caught in the wood’s natural ridges. The smoother the wood, the smoother the process will be.
Set Up for Success
Do:
- Prep your work area; plan out the project beforehand
- Have needle nose pliers, a small bowl, and a docking station
Don’t:
- Work in a cramped space
- Work near pets, children, or anything flammable
It’s important to make sure that your indoor workspace is functional and safe. Have a plan for your project: how long it will take, the tips you plan on using, etc. Always follow the safety instructions that come in the manufacturing manual for the tool you’ve purchased. You are working with a tool that can get as hot as 750° to 1050° Fahrenheit—which is incredibly awesome, but which obviously warrants significant precautions.
Use a scrap piece of plywood or a fire-resistant surface (like ceramic tile) as a base beneath your project. Even on a workshop table that already has blemishes from other projects, use an extra base layer. It will prevent the burner from coming in contact with sawdust or small pieces of paper that could accidentally ignite. If you have a large enough space within your home, you can also work at a kitchen table or countertop. Just make sure that you have enough space for the cord to move around freely.
Plug in the electrical cord for the wood burner somewhere that has plenty of open space; working in a cramped area will increase the likelihood of injuries and accidents. Never work around pets or small children; distractions and unexpected movement/behavior are not worth the risk of severe burns! Never leave your work station unattended; unplug the tool and make sure it has cooled down completely before leaving the area.
A critical part of your project prep is setting up a docking station. Most wood burners will come with a metal piece you can safely dock it on between parts of the project. This is also where the needle-nose pliers and the small bowl come into play: Use the pliers to gently twist the tips on and off of the burner as you change them throughout the project. Put the tips in a ceramic, glass, or porcelain bowl. I like to use a ramekin; it’s the perfect size, and I can easily exchange tips without worrying that the hot pieces will burn anything.
Practice Makes Perfect
Do:
- Have a pencil, eraser, and tracing paper
- Practice on a big, plain piece of wood
Don’t:
- Touch the end of the wood burner
- Apply excessive pressure (on the tool, or yourself!)
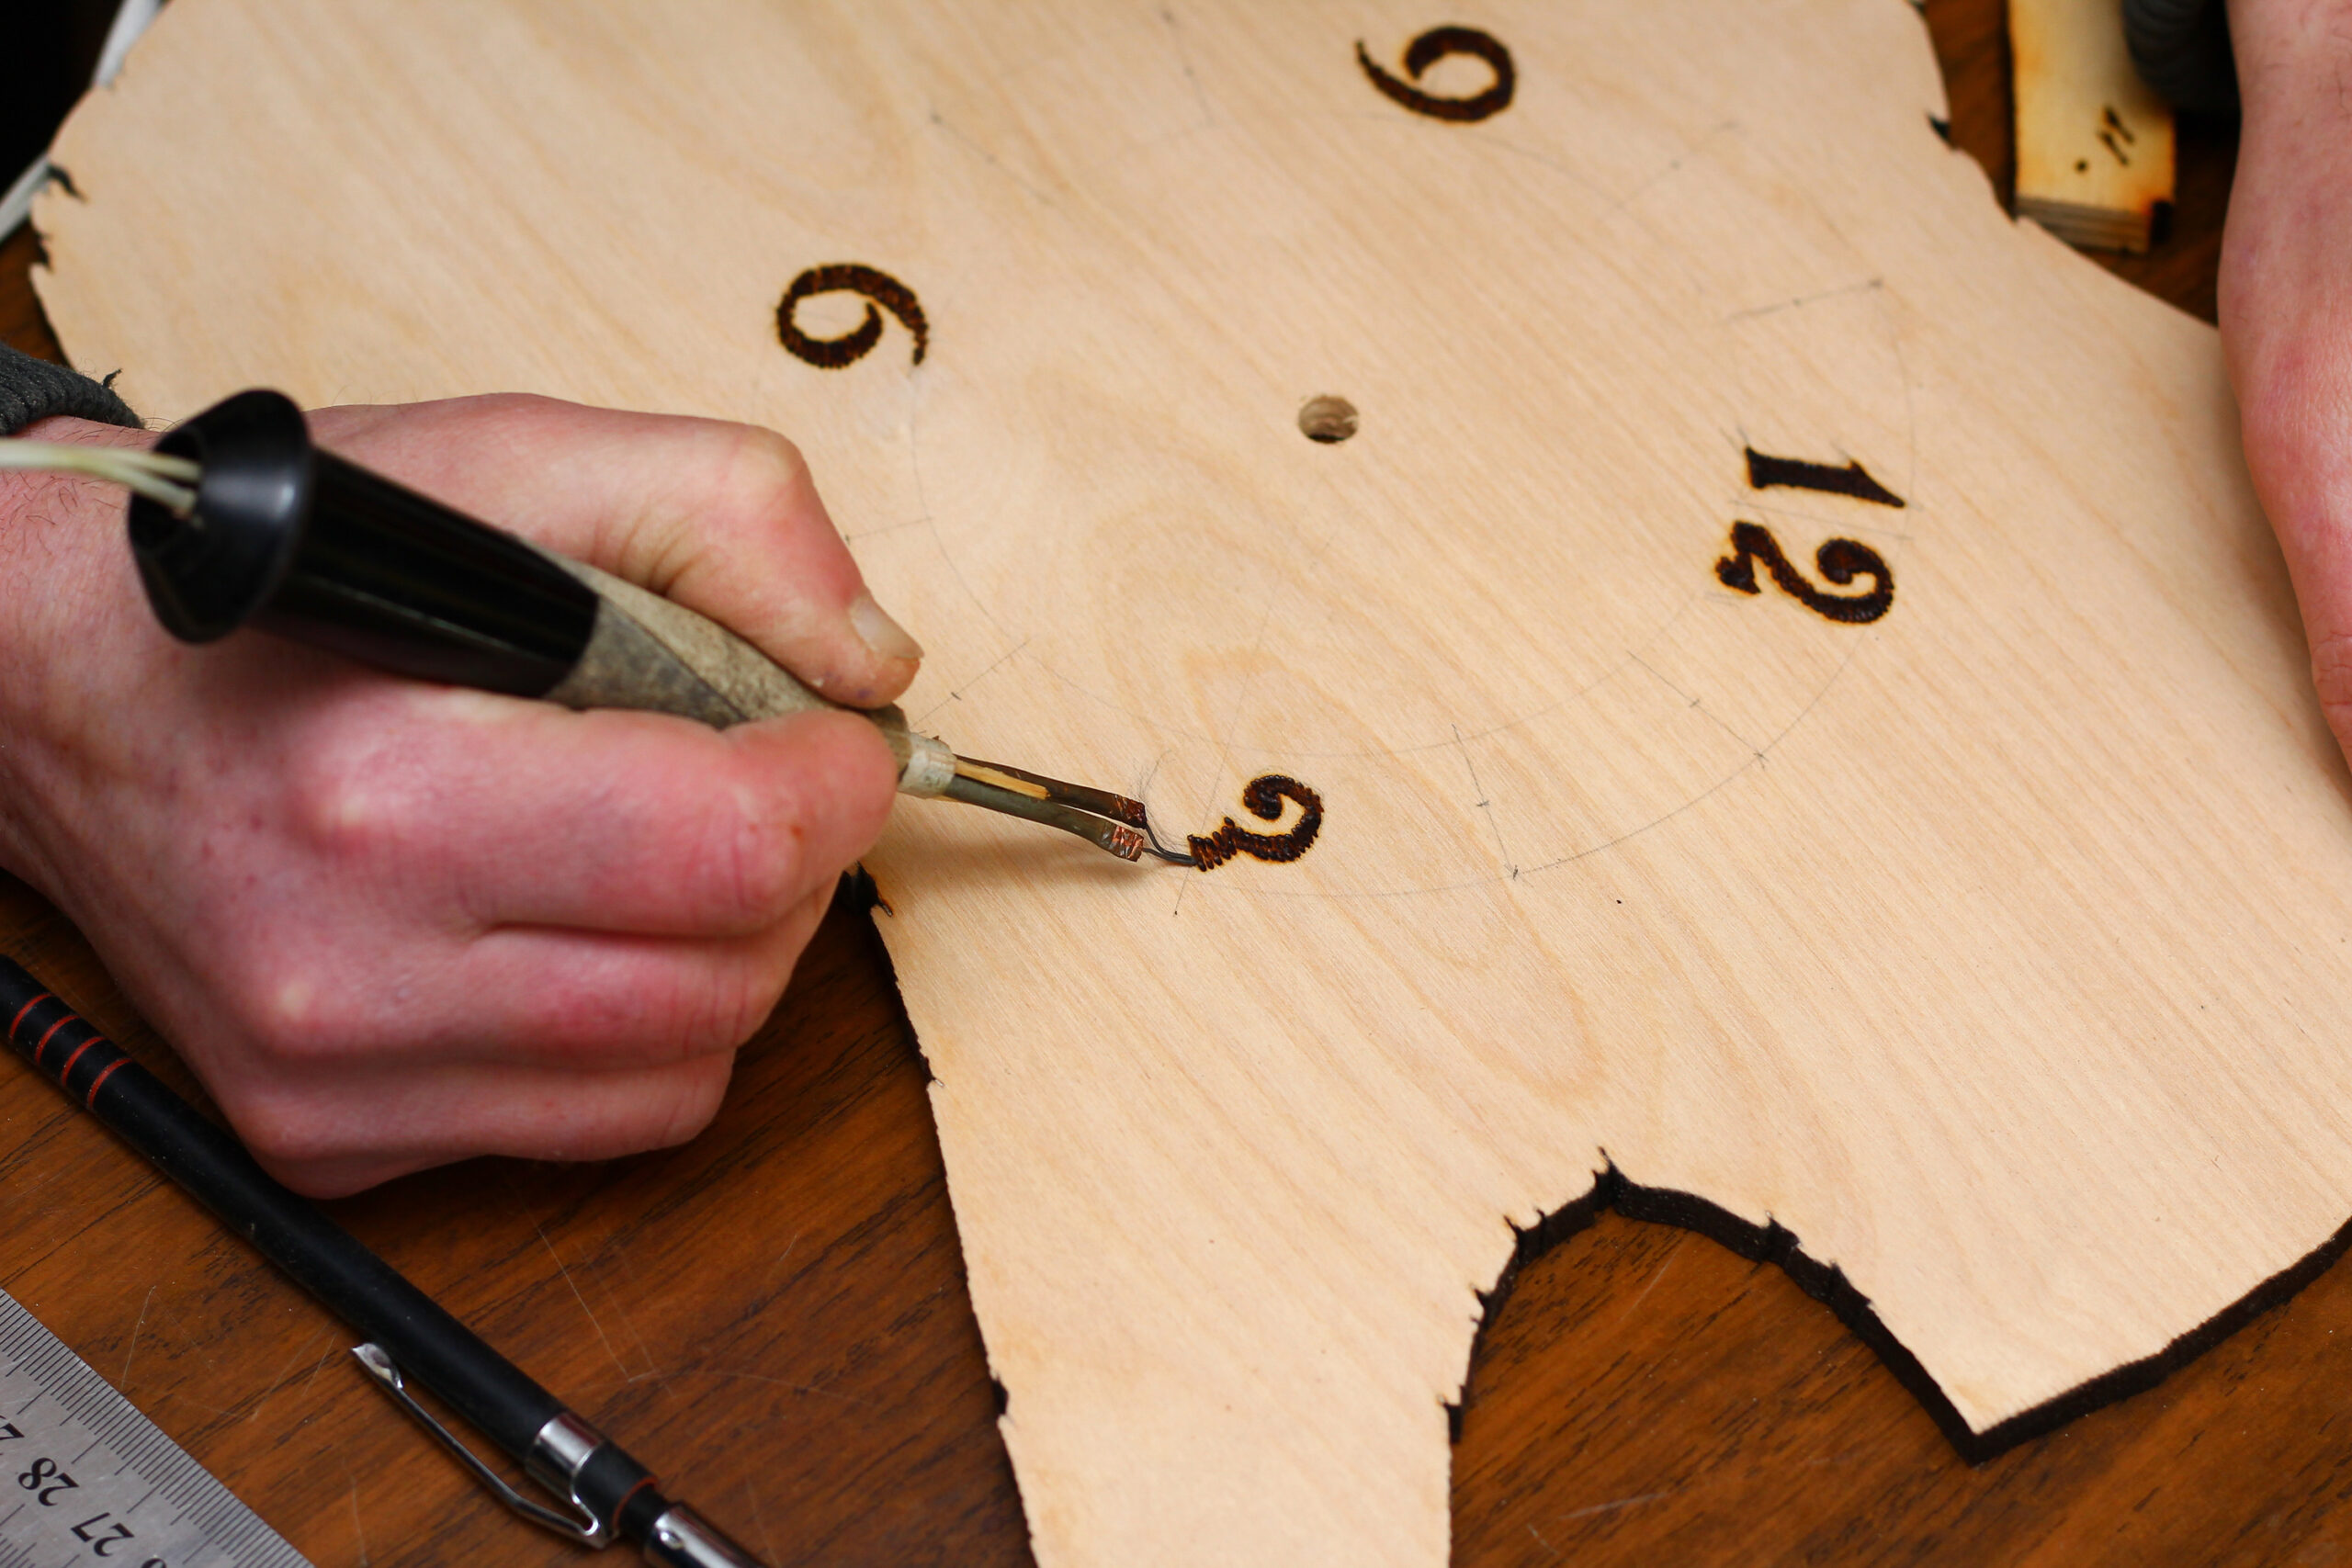
Use a pencil and eraser to draw or trace the desired pattern directly onto the wood. You can print a reference and transfer it with tracing paper, or freehand whatever you have in mind. Having a basic pencil drawing will give you a clear guideline to follow and will be much easier than attempting anything freehand with the wood burner—at least for the first time around. This is also another reason you’ll want to have the surface well-sanded, as previously mentioned. It will be much easier to draw on if it is smooth.
Next, rest the wood burner at its docking station, plug it in, and turn it on. Wood burners usually take 4-5 minutes to heat up completely. Familiarize yourself with the heat dials and where the on/off button is located, just in case. Once the burner is hot, use your plain piece of wood (the same one used to protect your table) as a surface for practicing lines, curves, and shapes. You’ll soon get a feel for how the tool works, how hot it gets, how much pressure to apply, and so on.
Don’t press the wood burner into the wood with too much pressure; this can damage and distort the tips while they are hot. The tool gets hot enough on its own to burn the pattern naturally and effectively; if you want dark, bold lines, it’s more about time and focus than pressure.
It’s also easy to think of the wood burner as a pen, which it basically is, but never hold it exactly like a pen. Hold the burner gently around the middle; the top of the burner (near the tip) is extremely hot and can burn your hand.
Most of all, don’t stress it! Just have fun with practicing before starting more ambitious projects. Wood burning is all about going slow and steady; you can’t erase burn marks, so take your time. Before you know it, you’ll feel comfortable with the process and will begin developing your own unique style.
Gear Up and Breathe Easy
Do:
- Consider protective gear for your face and hands
- Ensure air circulation around your work space
Don’t:
- Leave your hair down
- Work on large pieces indoors
As you can imagine, wood burning can generate quite a bit of smoke, depending on the type of wood you’re using and the thickness of the pattern you’re creating. The smoke is almost guaranteed to float directly into your face since you’re leaning intently over your project as you burn.
To protect your eyes and lungs, consider wearing protective gear, like goggles and a facemask. Experts recommend masks with a rating of P-95 or higher to effectively filter out the smoke. You can also use heat gloves to protect your hands from accidental brushes with the burner.
Experts will always recommend that you wood-burn in a workshop, if possible. According to the EPA, wood-burning indoors can affect air quality and can be harmful to the health of anyone within your home. However, if you don’t have access to a workshop, there are plenty of ways to make the air safe to breathe while you are wood-burning, even in your own home. For instance, you can use fans, smoke absorbers, or air filters to ensure that there is a healthy amount of air circulation and are easily found online, like Amazon.
When people warn that you shouldn’t wood burn indoors, they are mostly referring to large pieces of wood or substantially bigger projects. With smaller projects, (like plaques, frames, boxes, and other popular mementos) you’re just fine to work at a counter or kitchen table.
I’ve recently been working on wood-burned Christmas ornaments, and I work right at my kitchen table. All I need for my setup is a little fan to help blow the smoke away from my eyes. Since the ornaments are fairly small and the designs are light and simple, the amount of smoke is negligible. The room may have a slight burnt wood smell, but no smoke is visible.
In fact, I’d compare the amount of smoke from wood-burning to the amount of smoke you get when you blow gently on a candle; don’t breathe it in directly, but you’re completely safe to be around it. Plus, if you like the “campfire smell,” the tiny emissions of smoke create a nostalgic, creative ambiance.
Side note: If you have long hair, or any length of hair that may fall into your face as you are working, always secure it back with a ponytail or a well-fitting hat. It’s not worth the risk of absentmindedly brushing hair out of your face while there’s a 750° iron tool in your hand!
Play Around
Do:
- Experiment with surfaces and finishes
- Clean your tools between projects
Don’t:
- Use the wood burner for anything beyond its intended purpose
One of the best things about wood burning is that there is such a wide range of projects and surfaces you can try. The wood-burning tool works on leather, cork, paper, gourds, canvas, bone, antler, cotton, horn, and tree bark. With the internet at your fingertips and a personal vision for rustic home décor, the sky is the limit!
If you want to add a personal touch to your wood-burned project, try applying a layer or two of stain to really bring out the natural beauty of the wood. I like to use light-colored stains because they look natural and don’t dull the design I’ve just burned, but if you burn with a thicker tip, dark stains can be a gorgeous finish. You can also try acrylic paint or watered-down color finishes for more customized, kid-friendly projects.
It’s always a good idea to seal the wood with a clear coat once it’s dry. I personally think that matte finishes will better show off your burning skills since glossy finishes can build up in the ridges, but it’s all a matter of preference.
Last but not least, if you are alternating between types of wood or other surfaces, be sure to clean your tips after each project. Carbon can build up on the tips as you burn and eventually the buildup will decrease their effectiveness. I like to use a gentle, fine-grained sandpaper or a washcloth to brush off the black debris. Obviously, wait until the tips are completely cool before you do this.
And there you have it! With these tips and tricks up your sleeve, you’re ready to begin enjoying one of the most underrated, enjoyable crafts in the industry. Ready, set, burn!