When you finish your beautiful wood carving project, it is typically best to seal the wood from the elements to help preserve the carving and make it last for years to come. I’ve used a wide variety of different wood sealers and finishes on my wood carving projects and will be sharing my results below.
The best finishes and sealers for your wood carvings will come in wax, oil, or varnish sealers designed for wood. These sealers will make your wood carving more durable, protecting them from scratching and from the wood rotting.
When picking a sealer, make sure to think about your intentions with your wood carving. For example, do you want to place them inside or outside? Will you use them with food? Do you want a shiny or matte finish?
I also have a quick comparison video on some of my favorite finishes where I show how they look on both a sanded and knife finished piece of wood in the video below.
Best Indoor Wood Finishes and Sealers
The majority of the carvings most people make are going to be used indoors and not sitting outside for a long period of time. The wood finishes listed below are perfect for your indoor work of art or utensil.
Beeswax Paste
| Easy to apply | Yes |
| Drying Time | 20 Minutes |
| Food Safe | Yes |
| Reapplication Frequency | Yearly |
| Durability | Low |
Beeswax paste is my favorite option on this list to protect my wood carvings with. Not only is it easy to apply, but it allows the natural wood color to really shine and smells wonderful.
Not only that, because beeswax paste is only made of beeswax and mineral oil, it is food safe and can be used on any food utensil. Only downside is that it isn’t very durable and can melt if left in direct sunlight or placed in a hot environment.
The final result of the wood after drying and polishing as a nice glossy look
My favorite beeswax paste is from Interstate WoodWorks, which you can find on Amazon for a great price here: https://amzn.to/3IWXy8h
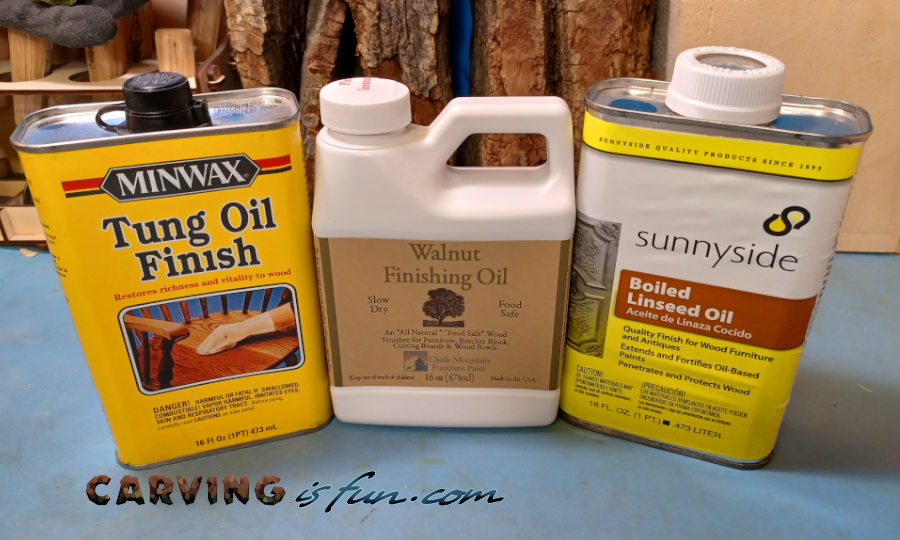
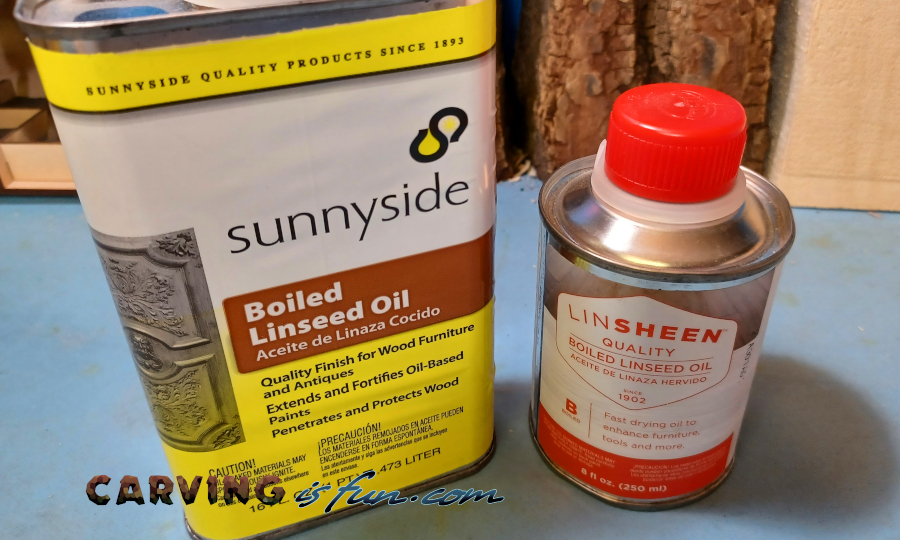
Linseed Oil
| Easy to apply | Yes |
| Boiled Linseed Oil Drying Time | Up to 3 days |
| Raw Linseed Oil Drying Time | Up to 14 Days |
| Is Boiled Linseed Oil Food Safe? | No |
| Is Raw Linseed Oil Food Safe? | Yes |
| Reapplication Frequency | Every few years or not at all |
| Durability | High |
Linseed oil is a very popular wood finish for many wood carvers as it is easy to apply and allows the natural wood colors to come out. Applying is easy and some people either liberally apply to the wood and let it soak in with a rag or a brush. As a warning, I have heard that rags with linseed oil can be flammable so dispose of the rags and clean up after yourself accordingly.
Drying times can vary depending on what type of linseed oil you use. Natural, unprocessed linseed oil is food safe but can take up to 14 days to fully dry. Boiled linseed oil is typically processed with chemicals and isn’t food safe, but has a much faster drying time at 3 days.
Natural linseed oil has the potential to go bad over time as it is still an organic product, but many argue that if you are frequently using the product and are purchasing from a good source that this isn’t an issue
Since Linseed oil absorbs into the wood, it doesn’t leave a film on the top and results in a nice satin finish.
As most of us reading this page are using these finishes for wood carvings, a great option is LinSheen Boiled Linseed Oil and can be picked up on Amazon for a great price here: https://amzn.to/3pcnAwu
Tung Oil
| Easy to apply | Yes |
| Drying Time | Up to 30 days |
| Food Safe | Yes |
| Reapplication Frequency | Every few years or not at all |
| Durability | High |
Tung oil is one of my favorite finishes for its durability and how well it makes the wood look when fully cured. There are many variants, but most people use pure tung oil as it doesn’t have any extra solvents in it.
To apply, take a rag or brush and apply liberally to the wood and let it soak in for an hour or two. Then wipe off the excess and allow to dry. Tung oil can take anywhere between 15 to 30 days to fully cure depending on temperature, humidity, and air circulation but when fully cured natural tung oil with no solvents in it is considered to be food safe.
Keep in mind that if you are using tung oil on food utensils, you must let the oil fully cure before use.
One of the things many people notice with the tung oil that is left in their bottle is that the area in contact with air will start to harden over time. Many people place marbles in the bottle to help remove excess air and prevent the oil from curing prematurely.
Personally, I like to use WoodRiver’s Pure Tung Oil as it doesn’t have any solvents and is easily found on Amazon here: https://amzn.to/30ILA0C
Walnut Oil
| Easy to apply | Yes |
| Drying Time | 2 days to 6 months* |
| Food Safe | Yes** |
| Reapplication Frequency | As needed |
| Durability | Low |
**Made from Walnuts
A very popular wood finish for bowls and wooden utensils is walnut oil as it is all natural and easily absorbs into the wood, bringing out the true colors of the wood grain.
To apply, simply apply the oil liberaly to the wood and allow to soak in for a few hours or overnight and apply 1 to 2 more layers as needed.
The drying time for this finish is varied and debatable, but many who use pure walnut oil claim that the finish never truly hardens like tung oil or Danish oil. Most people claim that natural walnut oil can harden within 3 to 6 months and can be sped up with heat or direct sunlight while some manufactures claim to dry within 3 days.
Keep in mind that this is made from tree nuts, so anyone with a nut allergy should be weary of using this on food utensils and bowls. Also, this oil does easily wash off so reapply as needed.
A popular walnut oil finish made by Chalk Mountain and is available on Amazon here: https://amzn.to/3J6ciSb
It is an all natural, food safe wood finish and they claim that it dries is 3 days.
Mineral Oil
| Easy to apply | Yes |
| Drying Time | N/A |
| Food Safe | Yes |
| Reapplication Frequency | As Needed |
| Durability | Low |
The most popular wood finish for spoon carvers and conditioning your wooden utensils and cutting blocks is mineral oil. It is a natural oil that is food safe and rehydrates the wood and helps prevent food particles from imbedding into the wood.
Of all the options above, this is the easiest wood finish to apply as there is no drying time involved at all. All you have to do is soak a rag with mineral oil and liberally apply to the wood you are treating. Then let is soak in for 30 minutes and wipe off the excess.
The final result will be a slightly matted look and will still be slightly moist to the touch as the oil does not dry. You will want to reapply every few months depending on how much the surface is washed, assuming that it is an eating utensil or cutting board.
I personally like and use Bayes food grade mineral oil for all of my spoon carvings. It is affordable and easily found on Amazon: https://amzn.to/3NC2qlq
Danish Oil
| Easy to apply | Yes |
| Drying Time | 8 to 24 hours |
| Food Safe | No |
| Reapplication Frequency | Every few years or not at all |
| Durability | Medium to High |
A very popular and easy to use wood finish is Danish Wood Oil as it applies very easily and is available at most hardware stores. This has a wide range of application from floors to your wood carvings.
Danish Oil has is made of various oils and solvents which allows it to quickly penetrate deep into the wood and dry quickly. Not only that, they come in a variety of colors so you can match the finish to the look you are after or even use different colors on your carving for various effects.
To apply Danish Oil, apply with a brush or rag and let it soak into the wood for about 30 minutes. Then wipe off the excess and allow to dry for at least 8 hours before sanding or applying another coat. The final effect will be a matted finish.
The danish oil that I have been using for years is Watco’s Danish Oil as it is available at all of my local hardware stores and comes in a variety of different colors. You can pick up some on Amazon and see what colors they have here: https://amzn.to/3NyLqg5
Acrylic Paint
| Easy to apply | Yes |
| Drying Time | 10 to 30 minutes |
| Food Safe | No |
| Reapplication Frequency | As Needed |
| Durability | Medium |
One of the most popular ways many wood carvers protect their carvings is by using acrylic paints to add some extra life and color to their works of art. This can really make your wood carvings stand out and be a great addition to any shelf for decoration.
Acrylic paints are easy to apply and are quite versatile. All you need to apply the paint is a brush and a cup of water to clean the brush off between colors. You can even water down the paint to apply a thinner layer and let the wood grain show through a little .
Since the paint can absorb into the wood, causing some minor variations in color, some people will first seal the wood with boiled linseed oil and paint on top of the hardened finish for a more even coloration.
You can use just about any acrylic paint that is available to you, but I have been using Sizarts paint for a while and find them to be a great option for an affordable price on Amazon: https://amzn.to/3NFMS08
Watercolor Paint
| Easy to apply | Yes |
| Drying Time | 10 to 30 minutes |
| Food Safe | No |
| Reapplication Frequency | As Needed |
| Durability | N/A |
If you are looking to keep a lot of the wood grain and just want to apply a very light color to your carving, watercolor paints are the perfect option. They allow you to apply subtle colorations to the wood for accents while keeping some of the natural wood accents.
While watercolor paints don’t provide any real wood protection, you can always finish with a clearcoat of paint or varnish when you are done. Just make sure to try the coat on a sample piece of wood with the paint applied to make sure it doesn’t alter the coloration.
For best results, sand the wood with 350 grit to 600 grit sandpaper for a nice smooth application.
My go to watercolor set for my wood carvings is from Artistro as it comes with a bunch of different colors and fits in a convenient travel case that is easy to use. You can get yours on Amazon here: https://amzn.to/3qS3Ezr
Furniture Wax
| Easy to apply | Yes |
| Drying Time | 10 Minutes |
| Food Safe | No |
| Reapplication Frequency | As Needed |
| Durability | Medium to High |
If you want a wood finish that you can use for not only your carvings, but other wood objects like furniture, Furniture Wax is a great option. You can easily apply the wax to the carving and buff it off, then once it dries it provides a shiny protective layer that can prevent minor scratches and scuffs from occuring.
Furniture wax comes in a wide variety of different formulas and colors with varying dry times and effects, but for the most part they dry quickly and have a matte or shiny fishish.
I personally like and use Treewaxes Paste Wax that has caranuba wax in it. Caranuba wax is the most durable natural wax you can get your hands on and I even use it in its natural form for some of my stone carvings! You can pick up some of this paste wax on Amazon for a great price here: https://amzn.to/3DrbXaq
Wood Varnish with UV Protection
| Easy to apply | No |
| Drying Time | Varies |
| Food Safe | No |
| Outdoor Reapplication Frequency | Yearly |
| Durability | Very High |
For those of you looking for the best option for protecting your wood carvings, wood varnish will be the best choice. It will even protect your wood carvings that are placed outside if you use a varnish with a UV additive it will help protect your outdoor carvings, even in direct sunlight.
When applying the varnish, I like to use a thinner for the first layer to allow the varnish to penetrate deep within the wood and let it dry for at least 24 hours before applying another coat. I find that applying between 3 and 4 coats for larger carvings provide an excellent protective barrier to keep your wood carving safe from both the sun and rain.
I personally use Epifanes varnish with extra UV-Filter as it has outstanding durability and comes in different finishes. You can pick up some on Amazon here: https://amzn.to/36IIcWB
For best results and to prolong the life of your outdoor carvings, keep them out of direct sunlight and reapply every year.
Don’t Finish Your Wood Carvings With Cooking Oils
While you can use mineral oil and walnut oils to finish your wood carvings, there are lots of other natural oils you shouldn’t use at all. Typical cooking oils like olive oil, canola oil, and vegetable oils will go rancid and start to smell after a while, causing your carving to become gummy and gross. They can also deteriorate your carving and attract bugs.
How Long Do Wood Carvings Last?
If you protect and seal your wood carvings properly, they can last for decades and almost indefinitely when stored indoors.
Here are some great ways to keep your wood carvings looking new for years to come.
- Placing it out of the sun, though, will be even better.
- Using a UV protective varnish will help against the damaging effect of the sunlight.
- Most varnishes will keep the bugs out as well. Check this before buying.
- Placing the wood carving on top of something so the wood won’t end up in a pool of water is highly recommended.
- Re-apply wood finish and sealers when needed.
Each sealer is different what can be confusing when you want to know how best to apply it to your wood carving.
The best way to apply sealer is to read the label and follow the following ten steps.
- Wipe it clean
- Sand it down
- Wipe it clean again with water or a dry cloth
- Wait for the sculpture to be completely dry.
- Pour some of the sealers in a bowl or on a rag.
- Apply the sealer as directed by the manufacture
- Wait for the prescribed amount of time to dry before applying any additional layers.
- Carefully wipe off any excess with a clean rag.
- Let dry completely (time will depend on the product, see the list above)
- If you want to apply another coat, repeat steps one to nine as many times as you wish.