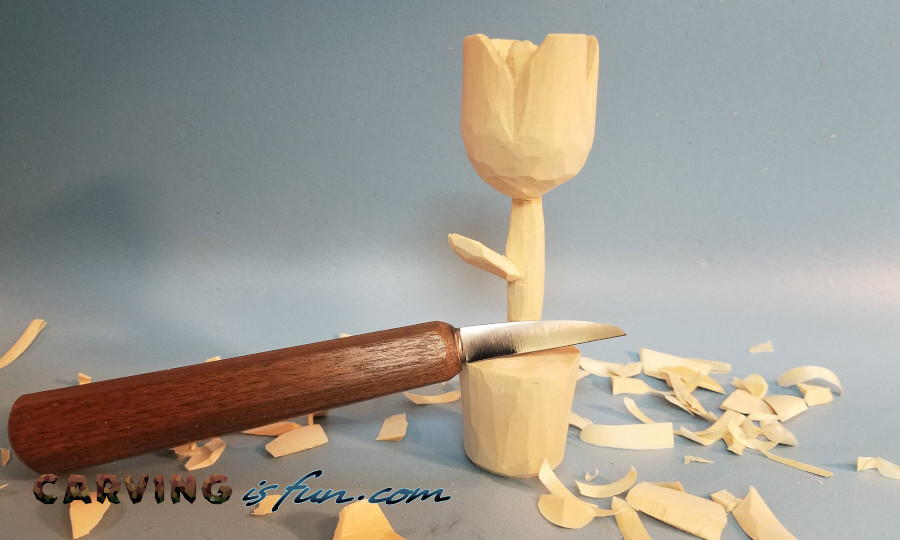
Wood carving is a great hobby and it allows you to pass the time with an enjoyable activity that you can focus on. Even then, some of you may be wondering how long it takes for people to actually carve something out of wood.
On average, a beginner may take 1-3 hours to carve a small wood sculpture the size of your hand or 1-2 weeks to carve a large wood sculpture the size of a person.
Factors like the types of tools a carver is using, skill level, carving size, complexity, and how hard the wood is to carve will cause these times to vary greatly.
There are plenty of ways to speed up your wood carving, lets go over a few different options below.
Ways to Speed Up Your Wood Carving
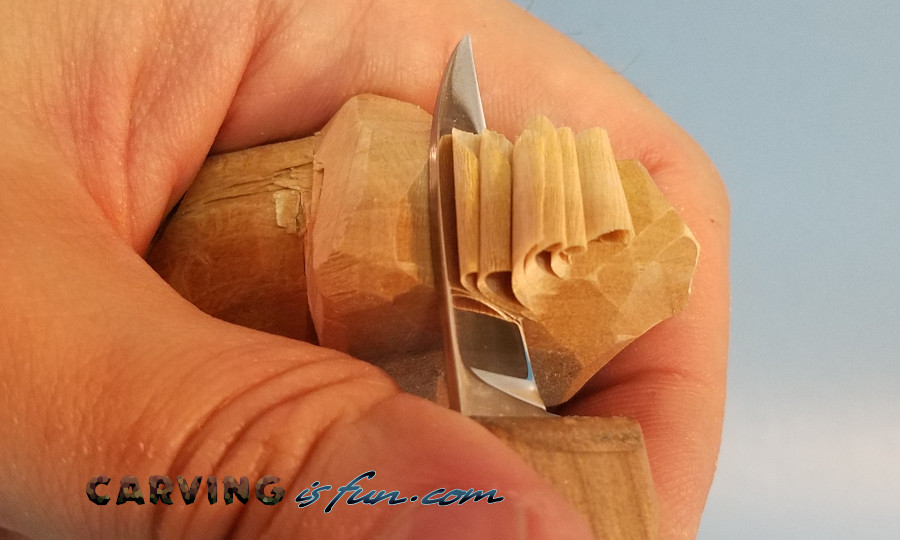
Simple things like the type of tool you use and even how the wood has been dried can drastically change how long it will take you to carve. Here are some big tips to help you carve faster and more efficiently.
Hone Your Tools every 20 – 30 Minutes
Starting off with a sharp wood carving tool is important, but what is even more important is keeping that tool well honed while you are using it. You will be slowly wearing out that sharp cutting edge while you are carving, and over time this will slow you down as the edge gets duller.
In order to maintain an effective cutting edge on your wood carving knives, chisels, and gouges, you will need to hone your edges every 20 to 30 minutes. This will both make the wood easier to carve and prevent you from stopping for long periods of time to fix a dull cutting edge.
If you are carving a really dense wood, you may have to hone the blades more often to keep them useable. Also, you will want to be more diligent about mishandling your blades while carving. Getting too aggressive with the angle or force you’re applying to the blade can result in a damaged edge or broken knife.
Wood Type and How They are Dried
Everyone knows that some species of wood are denser than others, but did you know that wood density and ease of carving can be effected by how the wood is processed?
There are 3 different types of wood that carvers typically use; green wood, kiln dried wood, and air dried wood. Even if the wood comes from the same tree, you will have a completely different carving experience depending on how it is processed.
Green wood is freshly cut branches and logs from a tree and have not had any time to dry. Because the wood still has the natural moisture that from the tree, it will usually be an easier carving experience.
However, the process of drying the wood after carving it may lead to cracks and splits, especially if it is dried to quickly. In some cases where you are carving larger pieces of wood, the wood may start to crack and split while carving. This may require you to hydrate the wood with water while you are carving, or leave a damp rag on the log during breaks.
There are two ways that wood is dried; kiln dried and air dried. Kiln dried wood are logs that are placed into a large kiln and rapidly dried by increasing the temperature and air circulation to remove moisture from the wood. The wood dried in this manner usually ends with a moisture content of 3% to 7% and is typically harder to carve than that of air dried and green wood.
Air dried wood is essentially wood that has been left out in the open air to dry naturally. This method of drying may take a few months to a year to achieve the proper moisture level around 7% to 9% but typically results in having wood that is slightly easier to carve than the kiln dried counterpart.
Carve with Roughouts and Blanks
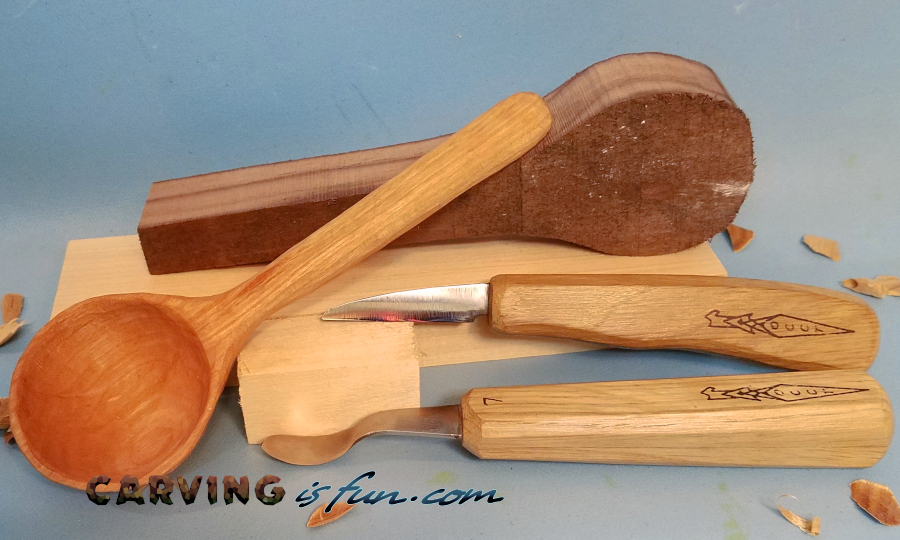
One of the most daunting tasks for anyone just getting into wood carving may be achieving the rough shape of the carving they wish to make. They may have a hard time seeing the shapes in the wood and determining where to proceed.
Starting your wood carving with a blank, roughout, or pre-cut shape will drastically reduce the time spent carving and prevent most mistakes when creating the rough shape of the carving.
These pre cut shapes are widely available on many different websites, but the majority of them can be found on Ebay and Etsy. Both have a great selection available from both regular people and companies.
Use Gouges, Chisels, and Saws
Having a wide selection of hand tools is not only ideal for giving you different types of cuts for detail, but more ways to remove large sections of wood as well!
A few wood carving tools that excel at removing large sections of wood for roughing out your carving are gouges, chisels, and saws. These tools allow you to scoop out and cut off larger sections of wood that will not be used so you can get to adding details faster.
Use Power Tools
If you really want to carve away large sections of wood or make easy and intricate details quickly, consider using power tools like rotary tools and skill saws.
These power tools allow carver to save a massive amount of time and effort in removing unwanted wood or making difficult cuts and details with ease. A great place to start looking for these tools is TreelineUSA.com as they have a wide selection of tools, bits, and brands available for any skill level.
Keep Practicing
The best and most practical way to reduce the time it takes to carve a block of wood is to keep practicing. Getting use to handling and effectively using wood carving tools provides you with the experience needed to know what to do and how to remove the wood.
You will notice over the course of many days or weeks that you will slowly understand what cuts you can make with each tool and what tool would be best to use at any given time. Plus knowing when and how to hone your tools will allow you to keep removing wood efficiently and safely.
Easy Woods to Start Carving With
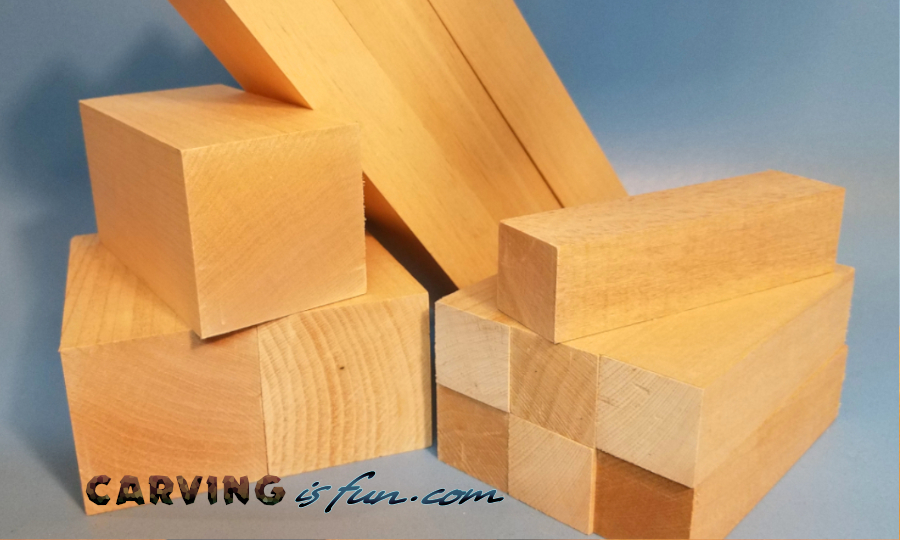
Another key factor in reducing the time it takes to carve wood is the density of the wood. Carving basswood, butternut, and pine are easy to carve by hand and are widely used all over the world.
Basswood
Basswood (also known as linden) is the primary wood that most whittlers and carvers will because it is soft enough to easily carve by hand, hard enough to hold small details, and it has a fine and consistent wood grain that is easy to keep track of.
Most carving suppliers will primarily sell basswood and it is easy to find. I primarily buy air dried basswood on Ebay, but TreelineUSA’s practice blocks are perfect for beginners.
Link to basswood on Ebay
Link to Basswood on TreelineUSA
Butternut
Butternut is another great and easy wood to carve as it is soft and hold detail very well. Plus, it comes in a nice dark coloration that can have slightly different shades of wood in the same block, resulting in a beautiful finished carving.
The main thing that you will want to know when carving butternut is that the wood grain is a bit coarser and can vary slightly when compared to basswood.
You will primarily find butternut at specialty wood supply stores, but I can sometimes find them on Ebay as well for spoon cutouts.
Pine
The most common wood you will find anywhere is pinewood and can be found at most places that sells lumber. Pine is perfect for carvers on a budget and most people will have direct acess to it.
Pine does have some inconsistencies when it comes to wood grain direction, density and the amount of knots in the wood. That being said, it is a wonderful choice for beginners and can produce lovely wood carvings.
More Whittling and Wood Carving Tips
If you are new to whittling and wood carving, check out my one stop whittling resource linked below for more tips, tools, and project ideas to get you started.
https://carvingisfun.com/Whittling/
